Vinyl Floor Planks that look like Wood

feb1814-2

It was time for us to pull up the builder’s grade carpet in our house.  I really don’t like the look of the laminates I’ve seen and real wood flooring was a bit out of our price range.

While watching “I Want That” on the DIY Network, we found out about vinyl plank flooring, by Style Selections, that looks just like wood.  It looked like something we really should investigate, so off to Lowe’s we went.

The stuff looked amazing.  Not to mention how easy it would be to install.  Peel and stick.  Literally!  It comes in boxes just like regular “real wood” flooring, but it’s thinner in depth and SO easy to cut to size when needed.   You just score it and cut it with an Xacto knife, though shoot, I used damn scissors a lot of the time!

It’s vinyl, so it’s perfect in kitchens as well.  Something I wanted, since I was sick of the boring tile in our kitchen/dining room.

The cost was definitely less expensive than laminate and we were able to put it right down over the tiles in the kitchen, and the subfloor in the living room.  Point is, no moisture barrier was needed, etc.

It’s been almost a year and I still love it!  Definitely worth looking at if you’re thinking of replacing your flooring.

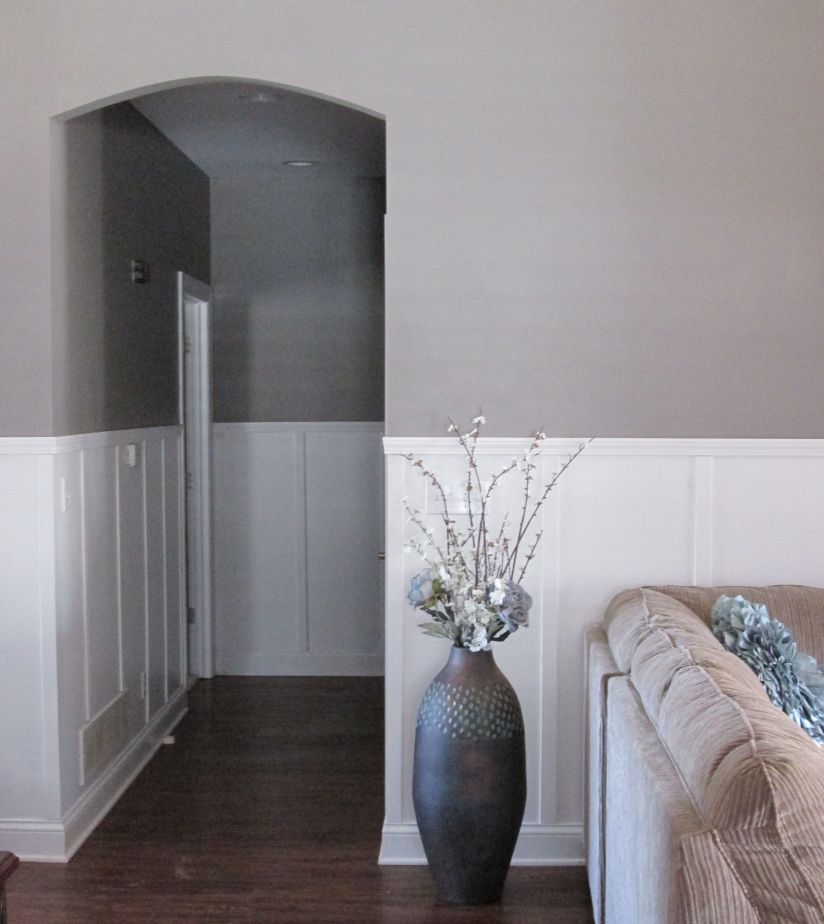
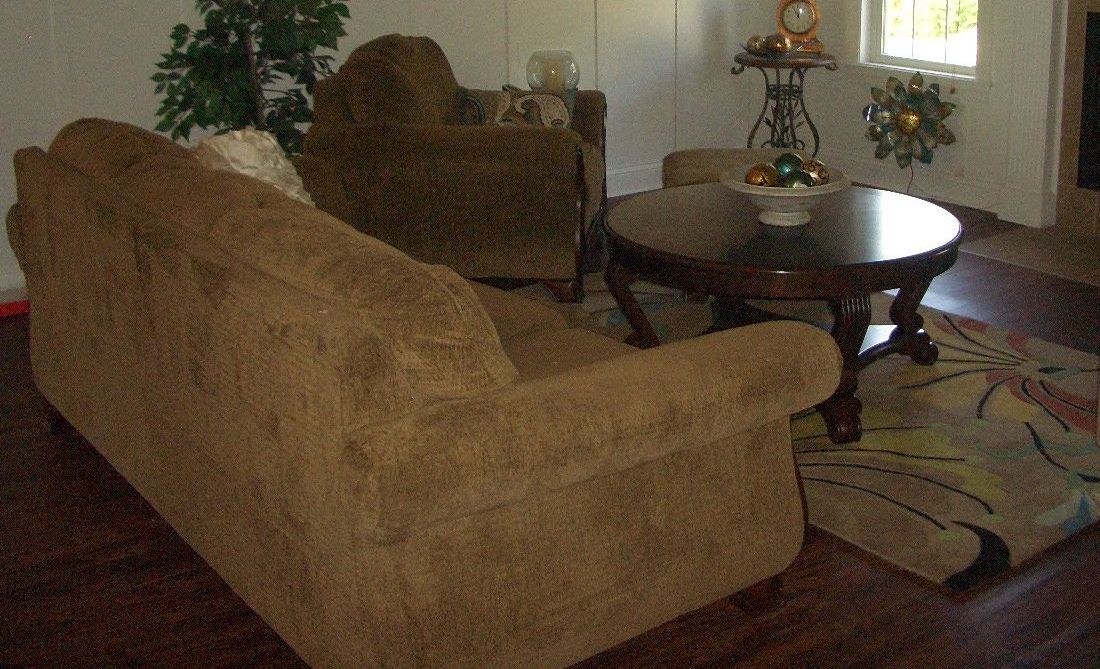
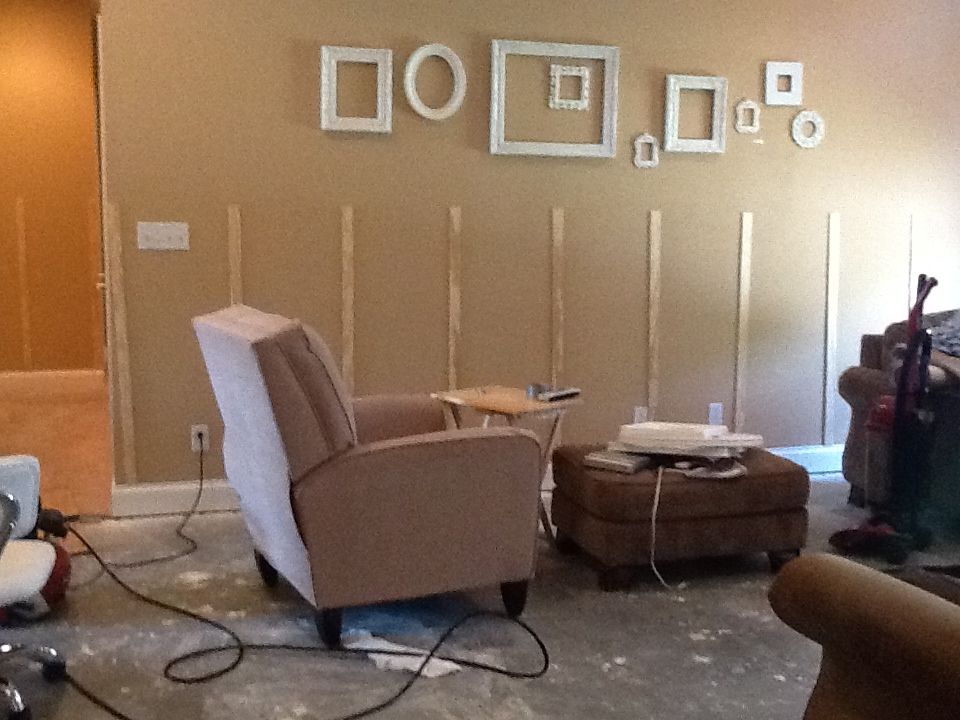
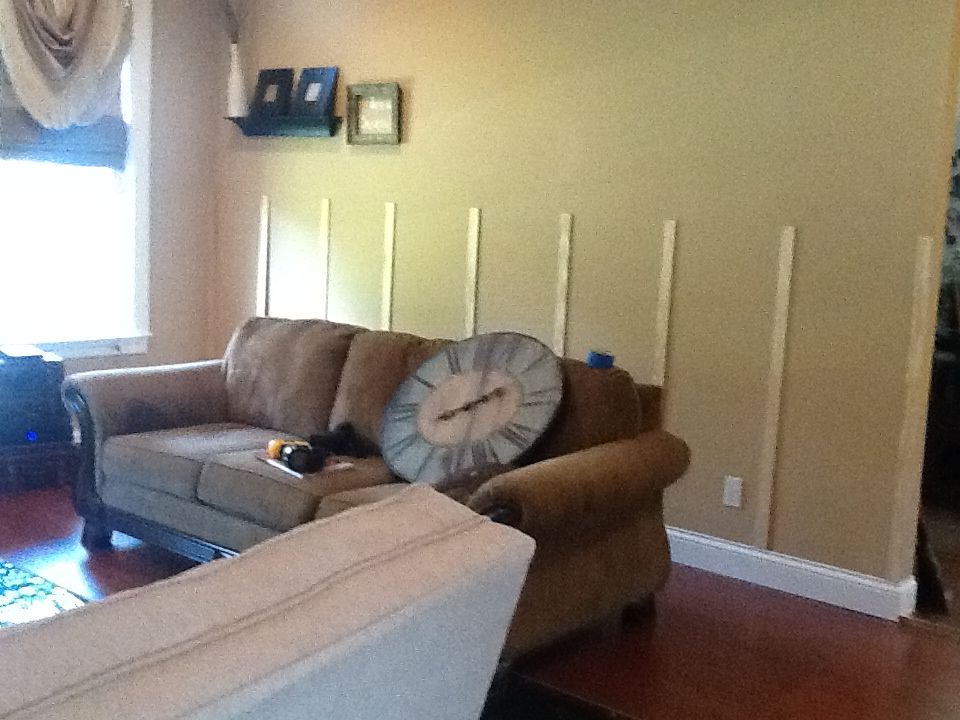
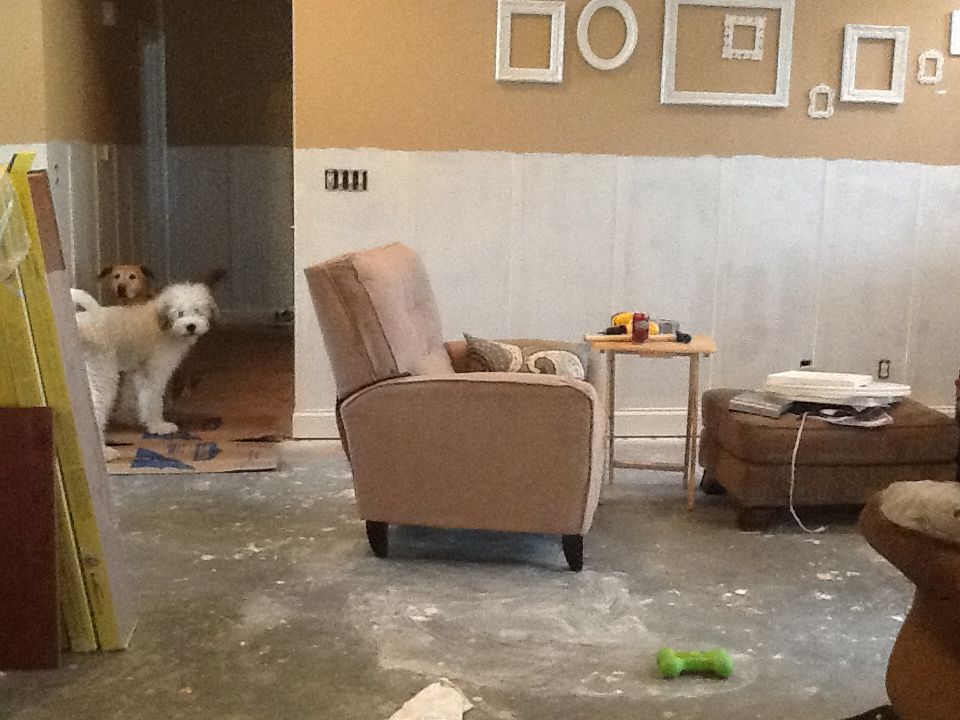
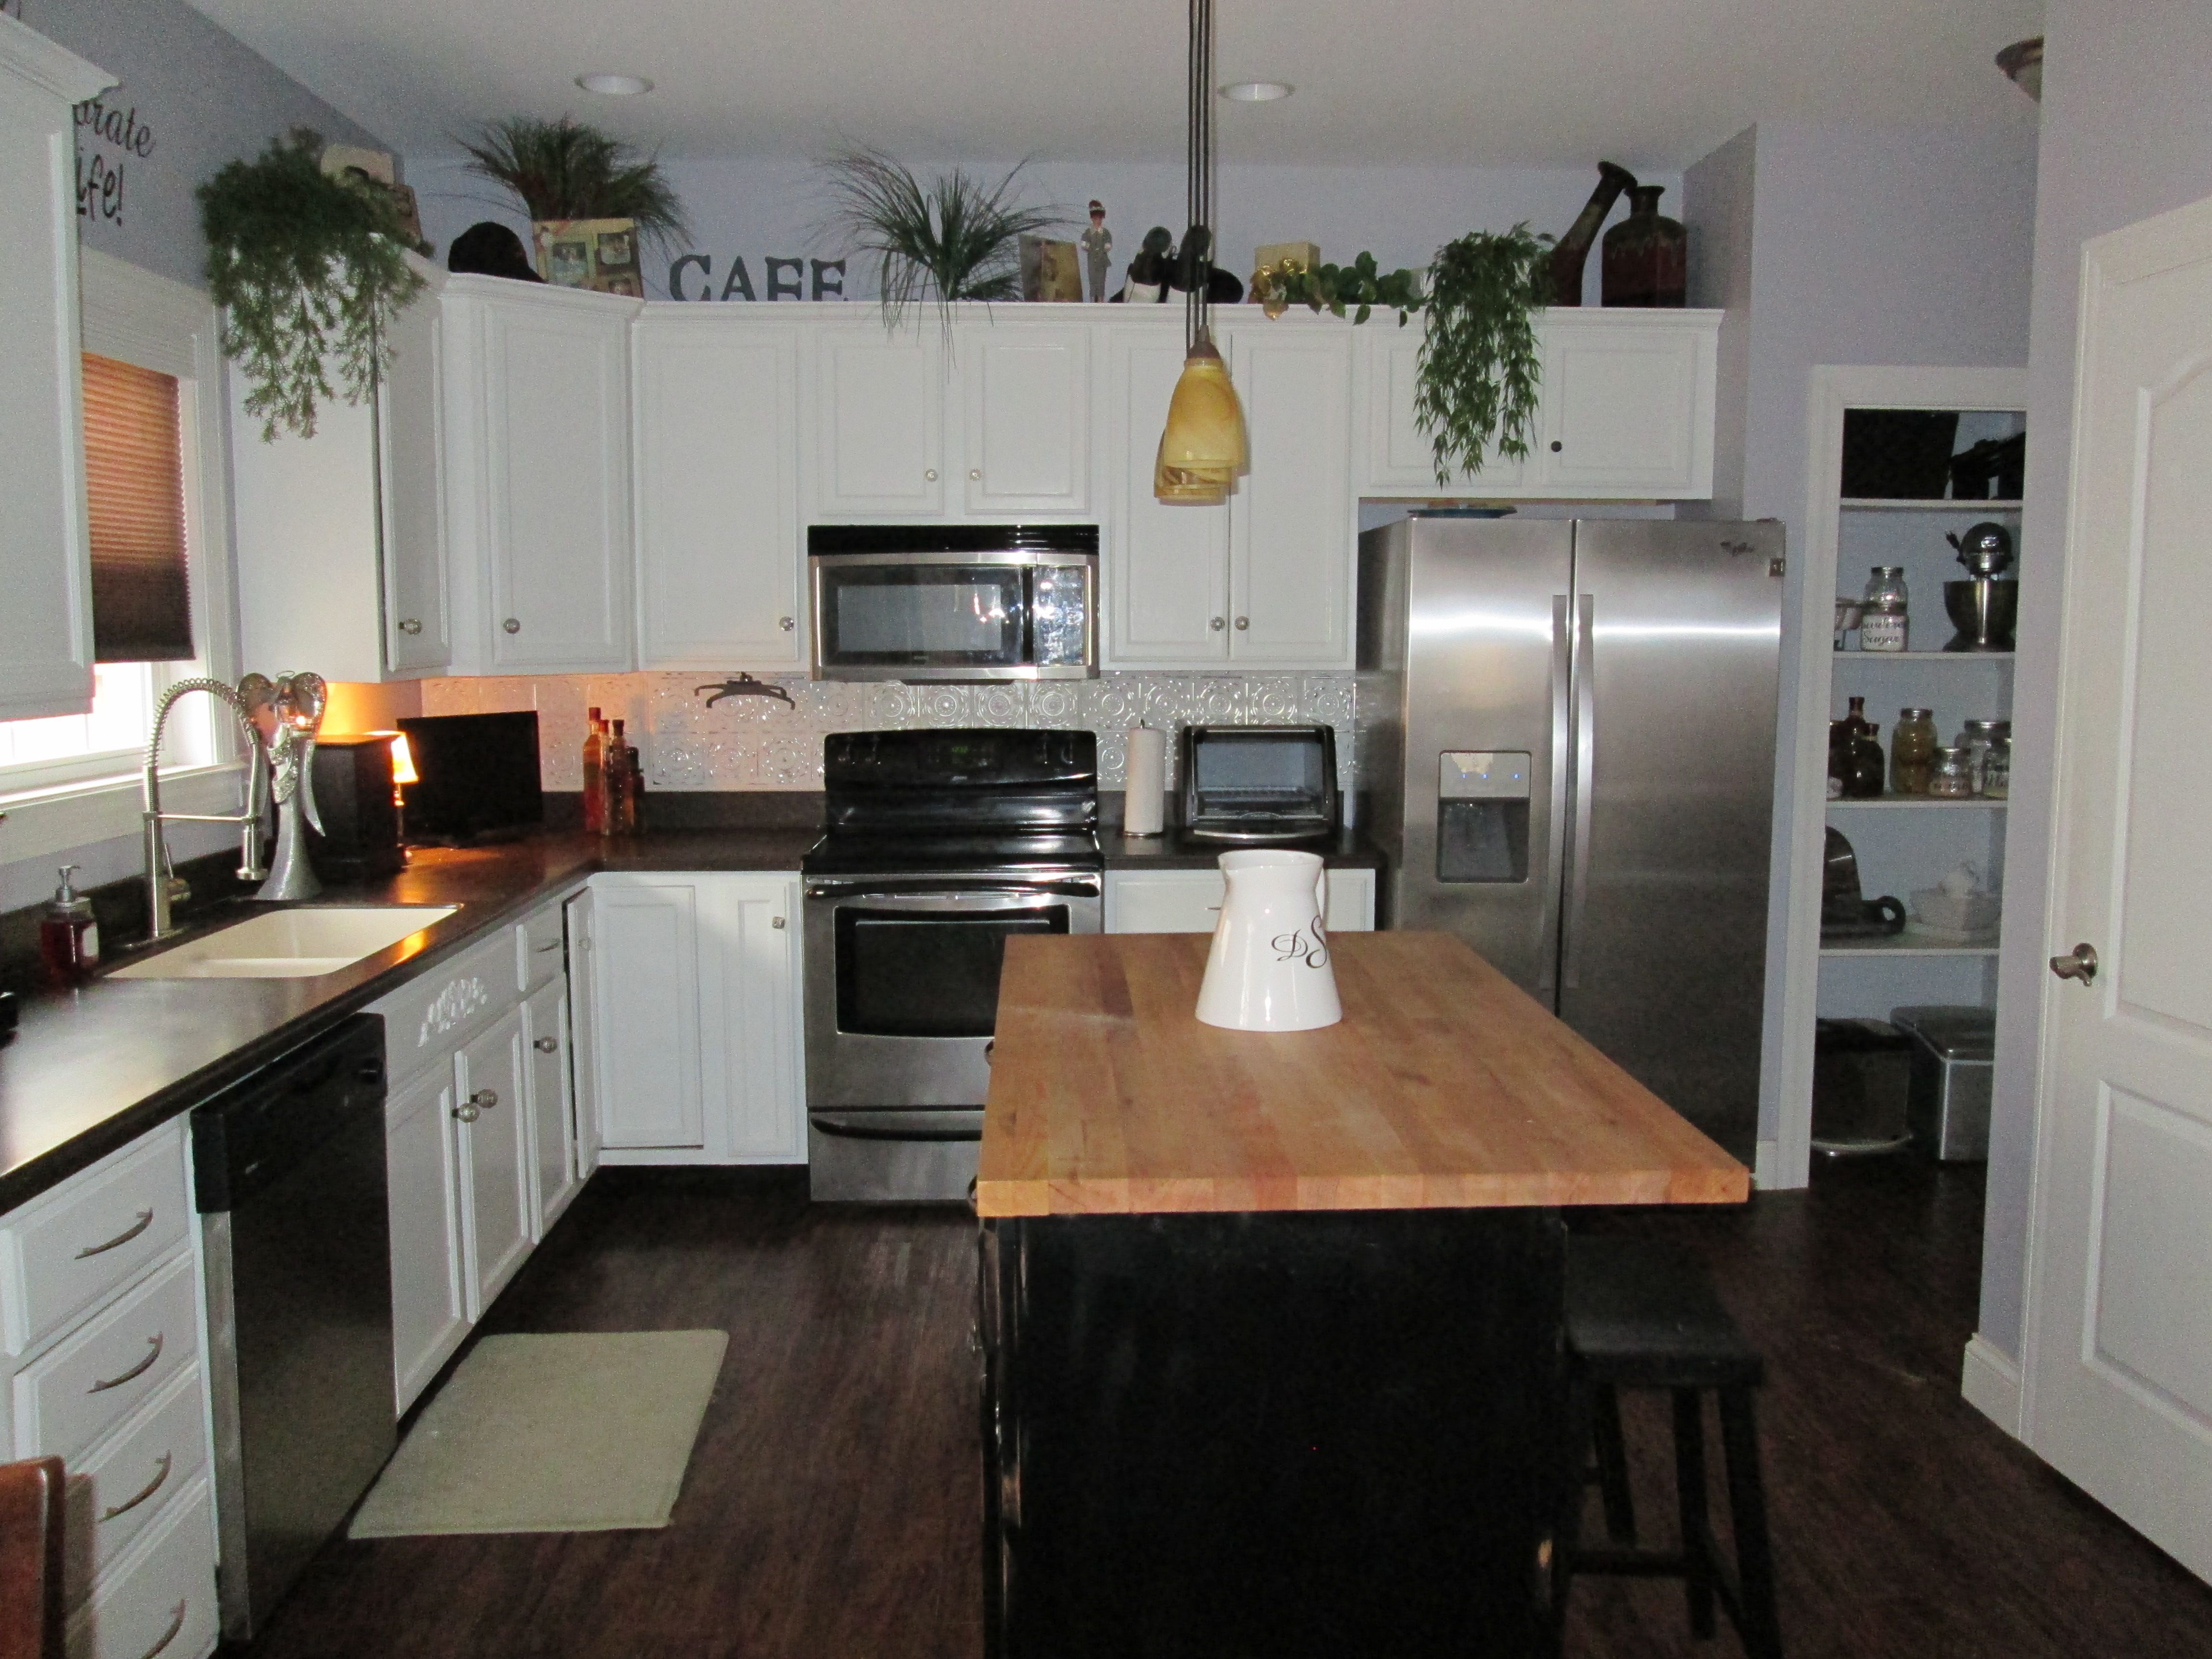
Here’s a before and after picture (sorry, I didn’t take many pictures during the process since I was also putting up the board and batten at the same time)!  Obviously, I bought new furniture, too, but I promise, it IS the same house!  ha ha

floorbefore                  Floorafter

Feb1814 floorKitchenafter


Advertisement

Board and Batten

Image

What’s the difference between Board & Batten and Wainscoting?  Hell, I don’t know!  But I know that when I did web searches on both, board and batten pictures were more what I was looking to do, it was higher up on the wall.  If anyone knows the real difference, please let me know!

After researching professional sites, I made my plan of attack and headed to Home Depot.  First, they cut an 8′ x 5′ piece of 1/4, sanded plywood into 2″ strips.  They were so happy to do that for us.  I was ready to buy the precut 8′ strips (lath), which came in 1.5″ wide x 48″, which is the height I needed.  But the guy strongly suggested I have him cut the plywood since it would only be $13.00 vs. a lot more if I purchased the strips already cut out, so shoot, I said you betcha!  

I next needed moulding for the top.  I picked something pretty plain.  I didn’t want it to be too decorative.  Since I wasn’t going to put a wood “wall” on there, the actual wall became that part.  So all I needed was some good white paint and nails for my nail gun.

I wanted my board and batten to be 48″ high and the wood strips about 17″ apart.  I cut one piece to be my guide.  However, what I found useful was measuring the wall I was working on and dividing that width in inches by 17″, that way I wouldn’t be short.  I was able to adjust the width accordingly.  You can’t tell at all that some of the distances between vertical strips is 16″ and some are 18″. 

ImageImage

Next I painted.  I decided to paint the moulding separately and just put it on the prepared walls.

On a side note, you can see that we had also pulled up our carpet and were installing vinyl plank flooring.  More on that later.

Image

The entire project only took me about a week.  Not bad since I did quite a large living room, foyer and hall. 

Here are a couple of “after” pictures a few months later.  I decided to get rid of those tan/orangey walls and I’m SO glad I did.  The hardest part of that job was deciding on which color gray paint to use!  I never realized I’d get so crazy about it.  Used below is Sherwin Williams Dovetail. 

ImageImage