I was sitting here wondering what I could post today and thought, DUH, my screened in patio. I keep posting current projects and forget those that I did a few years back.
Our screened in porch isn’t very big, 10′ x 12′, but I wanted it to be an extension of our home. Living here in Columbia, MO, there are so many days and evenings that are perfect for spending outdoors.
This is what I started with. I wish I had backed up a bit to get a more broad picture, but I think you get the idea:
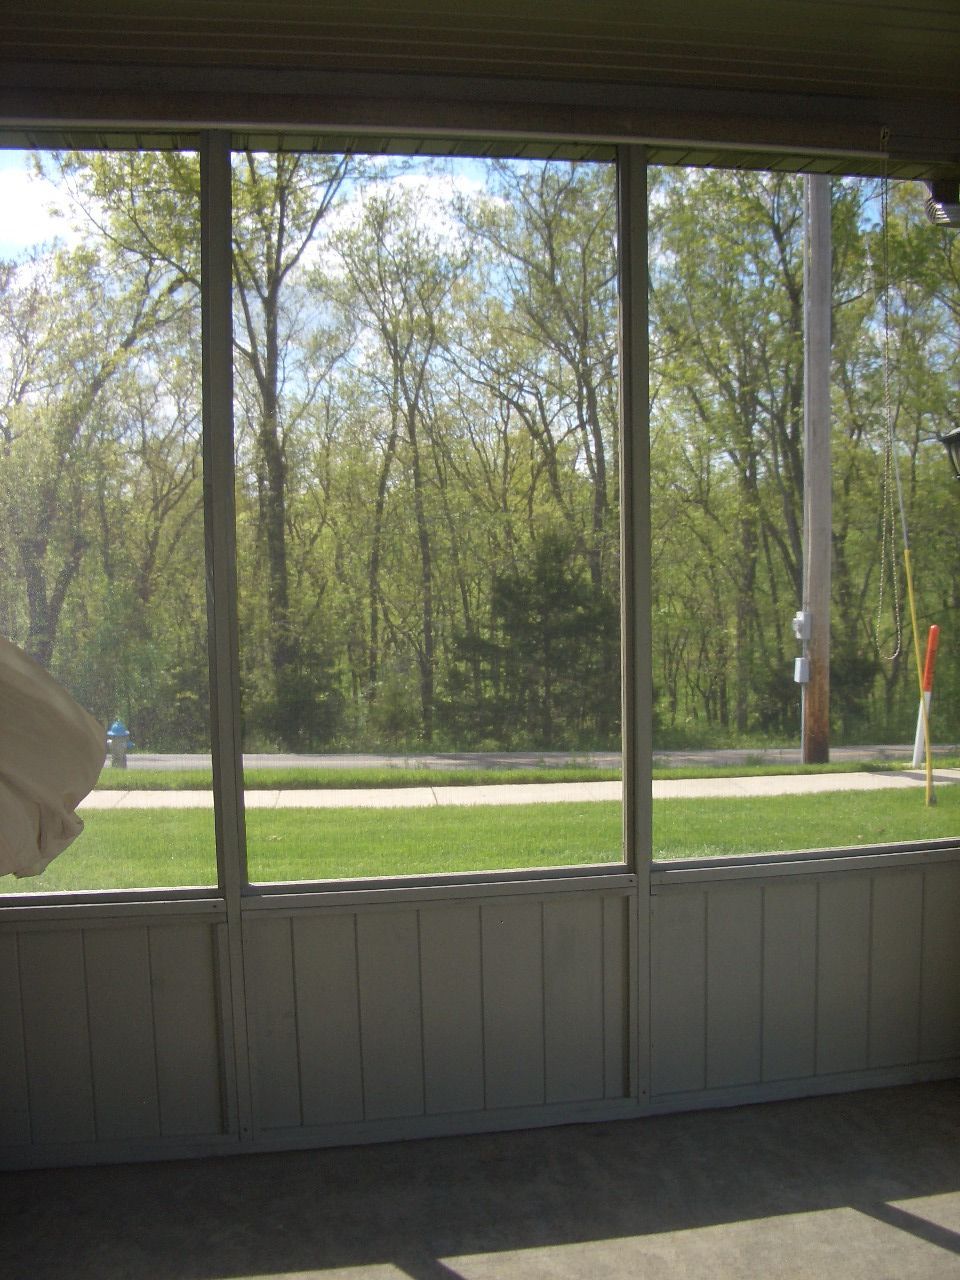
We actually had the patio enclosed. It already had a roof so it was very inexpensive to have someone come out and enclose it for us. Took the guy less than a day and was only $700.00.
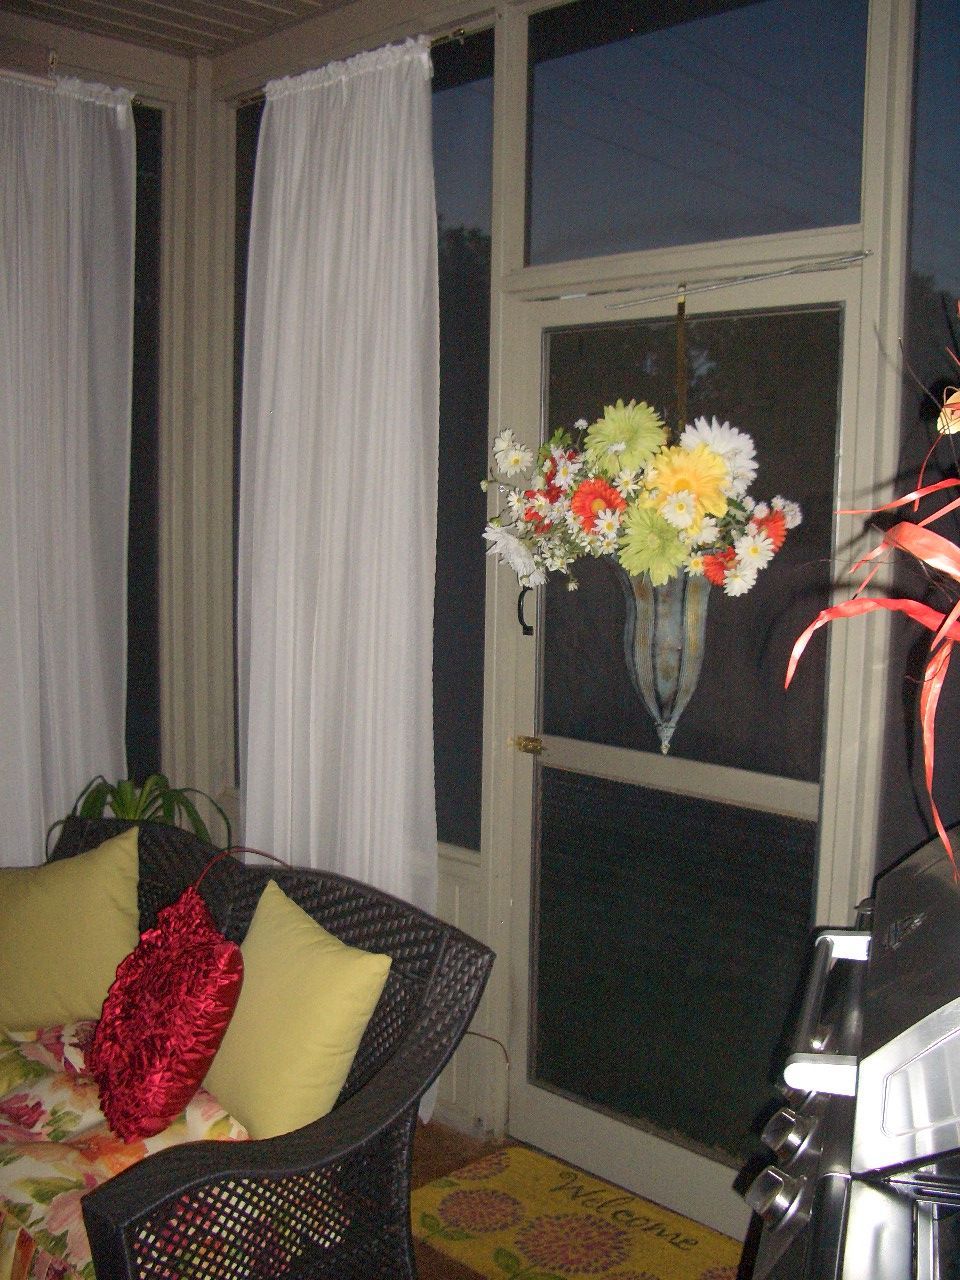
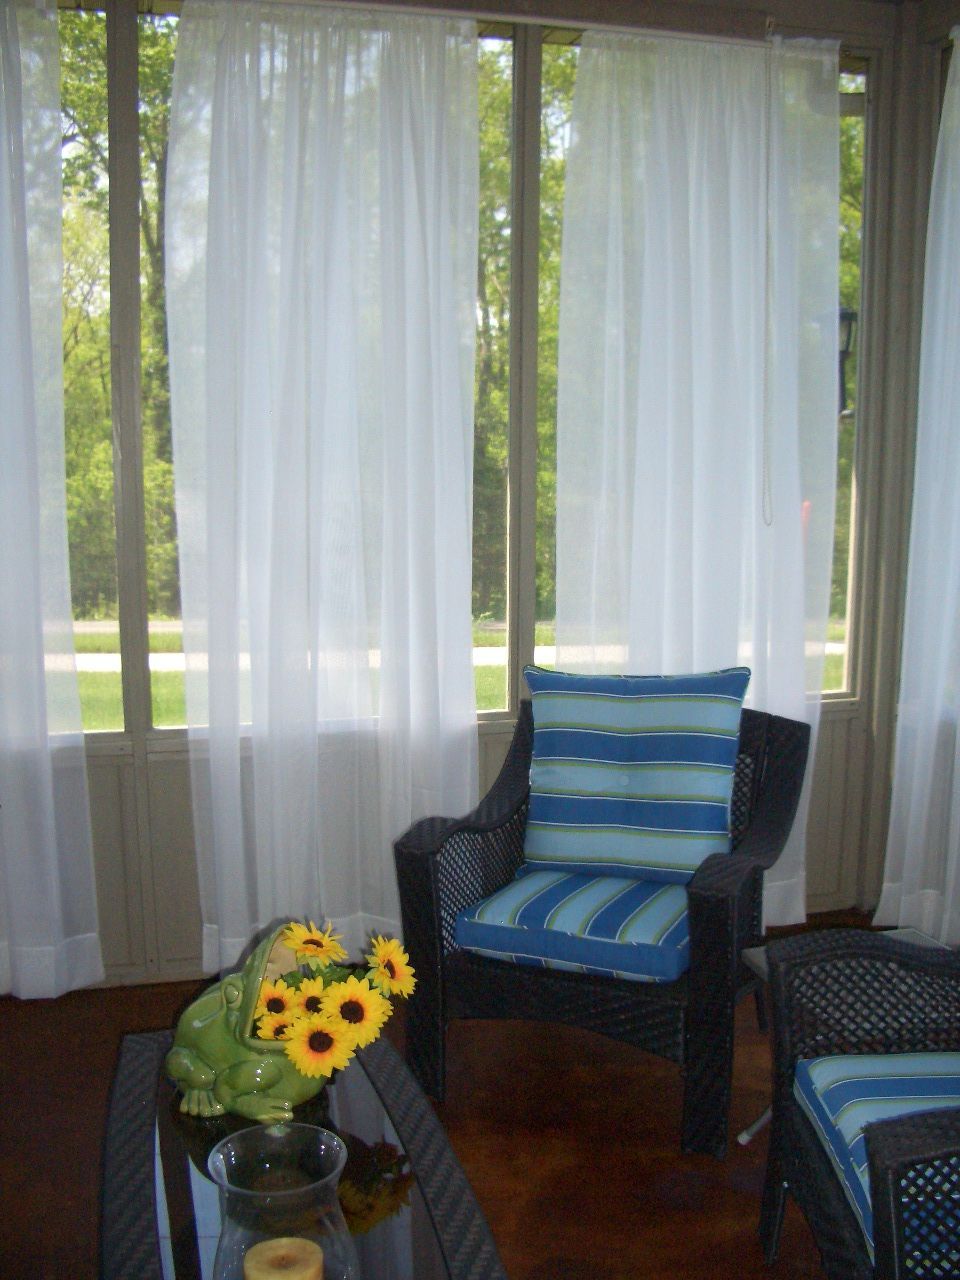
I wanted to have sheers hanging. Shoot, this was way before it was a popular idea, so it was challenging to find some that would be long enough. Now? You can find them everywhere! I found these in Penney’s, online. Not expensive at all and boy have they held up. In the four years that I’ve had them, I’ve washed them twice. If I had any inclination to sew, these would have been a breeze to make but me? Sew? Uh, nope! All we did was hang them on a cheapie rod.
I’m a bit out of order here because once I hung the curtains, I decided to stain the concrete! I just tied them in knots so they wouldn’t get in the way. Here’s how I stained them.
I picked out a concrete stain that I thought would be pretty neutral. It’s funny how it looked afterward, because the differences in color weren’t intended, but I was so happy with the results. I washed the concrete floor of the patio, but to be honest, I didn’t go nutso crazy doing it. The most important thing I feel is that you vacuum it. Afterward, I merely rolled the stain on, after watching some YouTube videos. Of course you need to seal it. I was a bit concerned about it being slippery, but since we don’t have a pool in this house, it wasn’t that big of a deal. I got some garage floor sealer, and again rolled it on. I put three coats of that on.
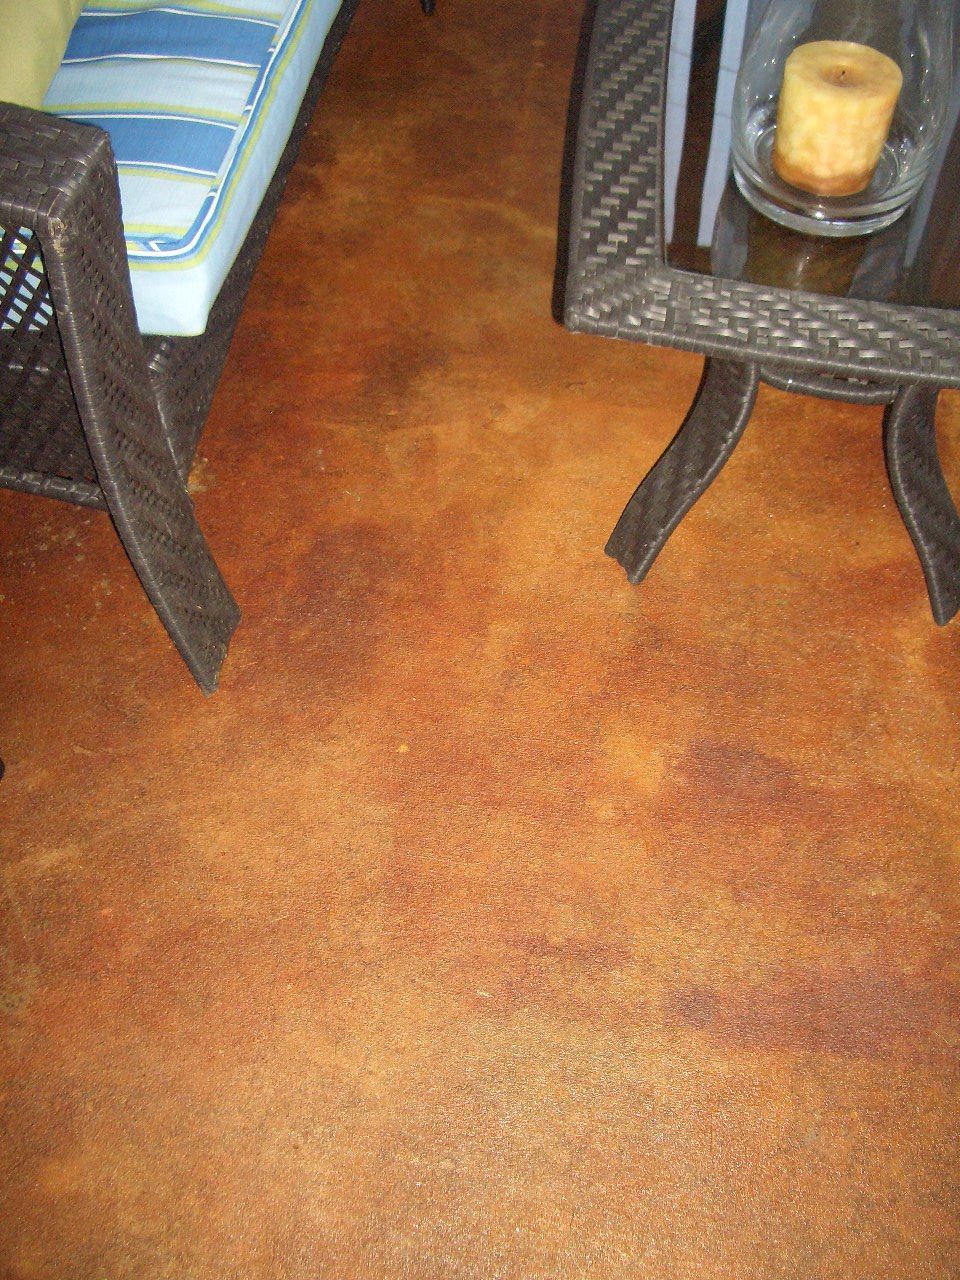
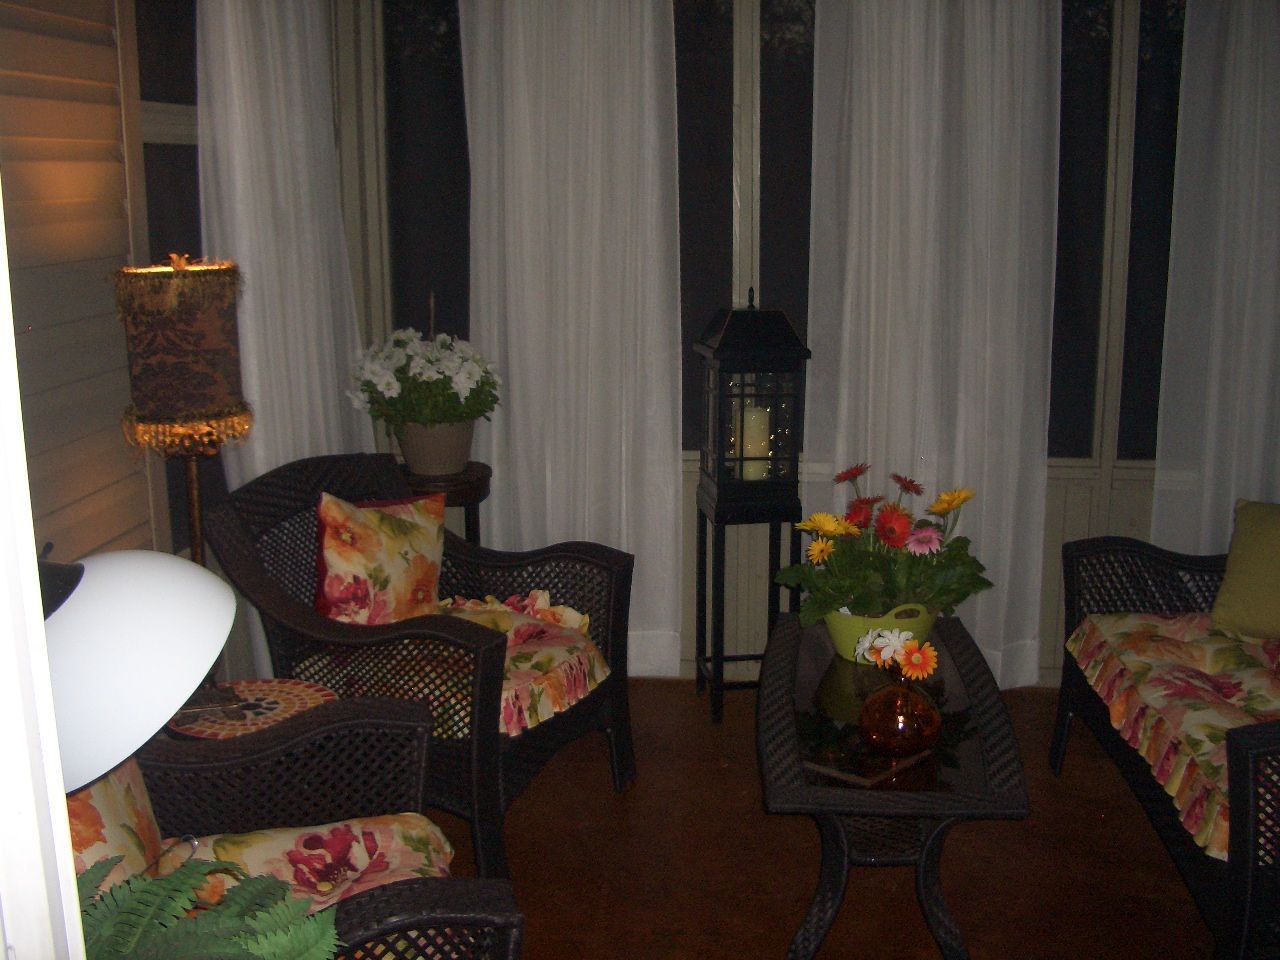
I’ve since changed out the cushions on the furniture and moved the furniture around, so here it is now!