What’s the difference between Board & Batten and Wainscoting? Hell, I don’t know! But I know that when I did web searches on both, board and batten pictures were more what I was looking to do, it was higher up on the wall. If anyone knows the real difference, please let me know!
After researching professional sites, I made my plan of attack and headed to Home Depot. First, they cut an 8′ x 5′ piece of 1/4, sanded plywood into 2″ strips. They were so happy to do that for us. I was ready to buy the precut 8′ strips (lath), which came in 1.5″ wide x 48″, which is the height I needed. But the guy strongly suggested I have him cut the plywood since it would only be $13.00 vs. a lot more if I purchased the strips already cut out, so shoot, I said you betcha!
I next needed moulding for the top. I picked something pretty plain. I didn’t want it to be too decorative. Since I wasn’t going to put a wood “wall” on there, the actual wall became that part. So all I needed was some good white paint and nails for my nail gun.
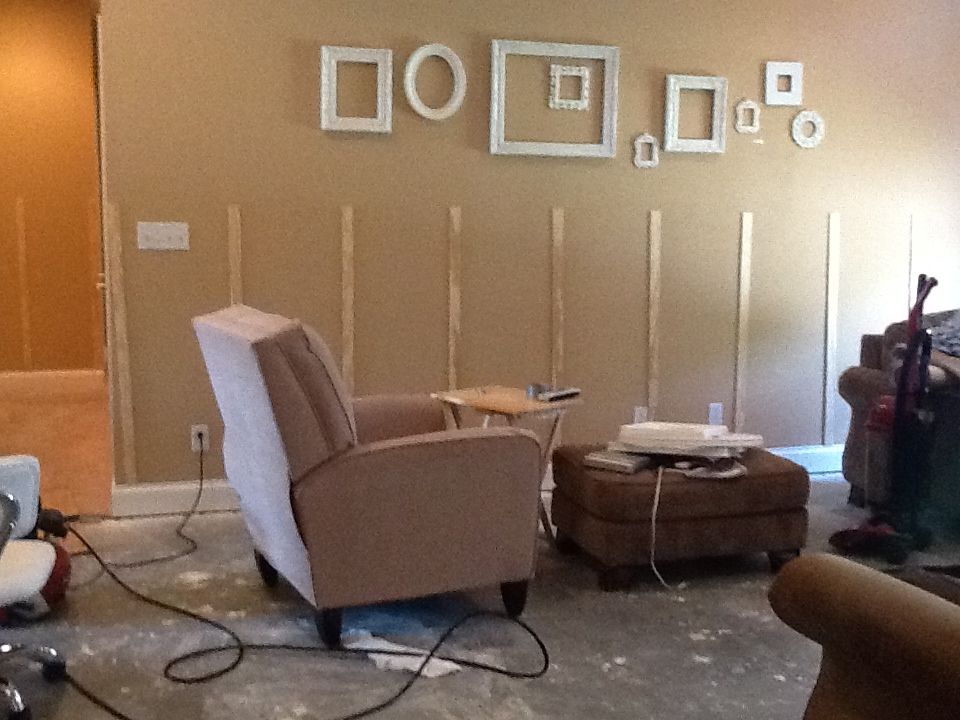
I wanted my board and batten to be 48″ high and the wood strips about 17″ apart. I cut one piece to be my guide. However, what I found useful was measuring the wall I was working on and dividing that width in inches by 17″, that way I wouldn’t be short. I was able to adjust the width accordingly. You can’t tell at all that some of the distances between vertical strips is 16″ and some are 18″.
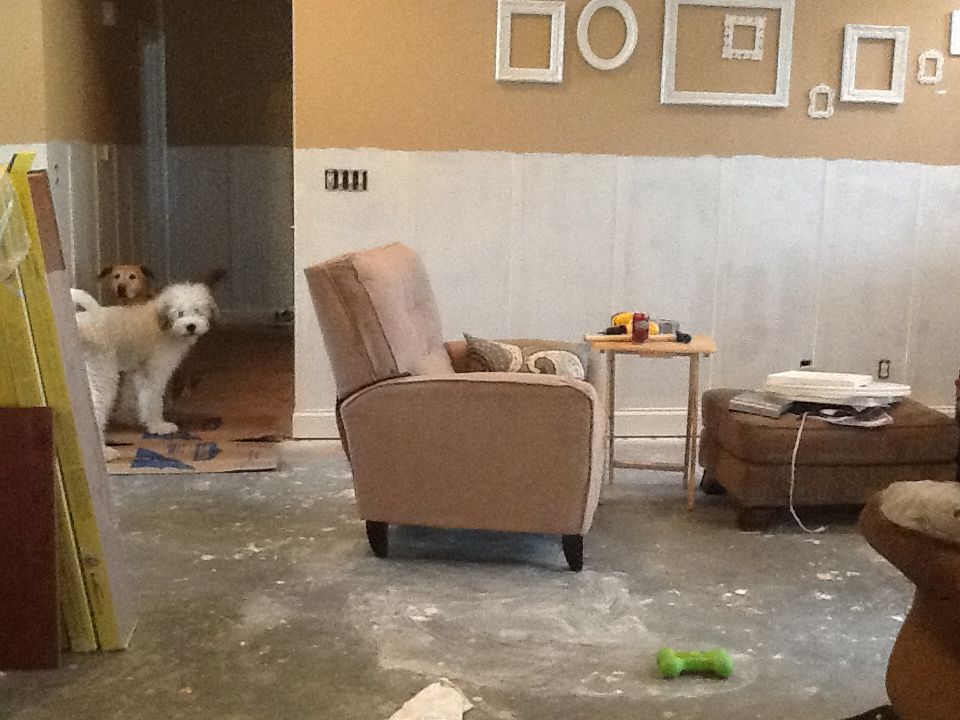
Next I painted. I decided to paint the moulding separately and just put it on the prepared walls.
On a side note, you can see that we had also pulled up our carpet and were installing vinyl plank flooring. More on that later.
The entire project only took me about a week. Not bad since I did quite a large living room, foyer and hall.
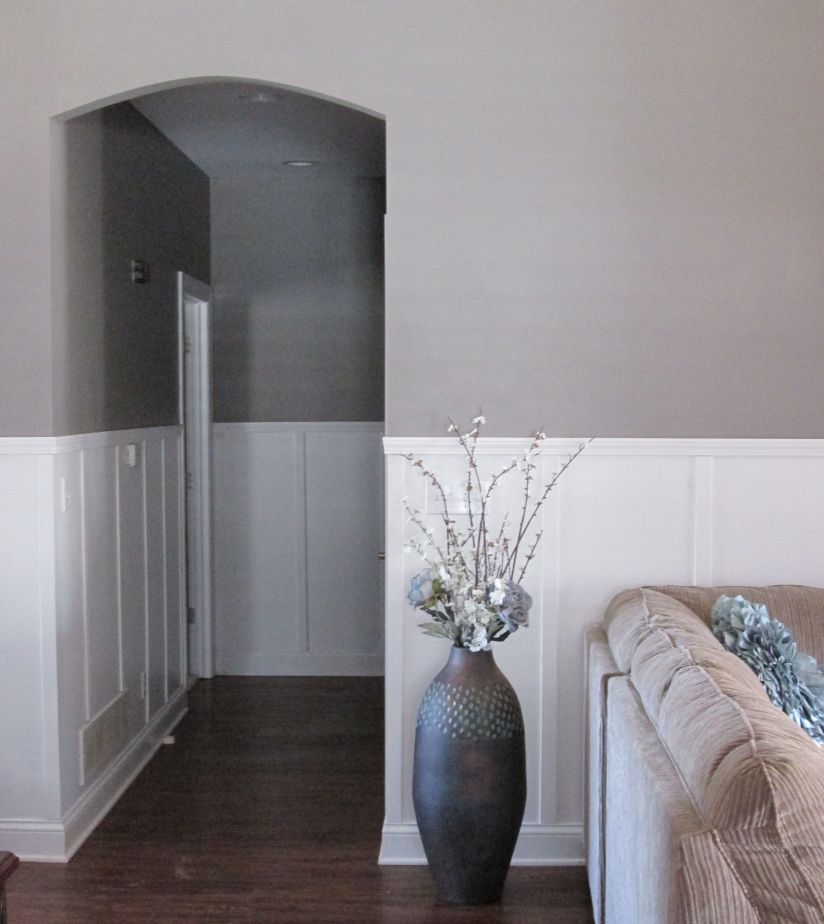
Here are a couple of “after” pictures a few months later. I decided to get rid of those tan/orangey walls and I’m SO glad I did. The hardest part of that job was deciding on which color gray paint to use! I never realized I’d get so crazy about it. Used below is Sherwin Williams Dovetail.