Our Lake House….the Good, the Bad and the OMG, Ugly!

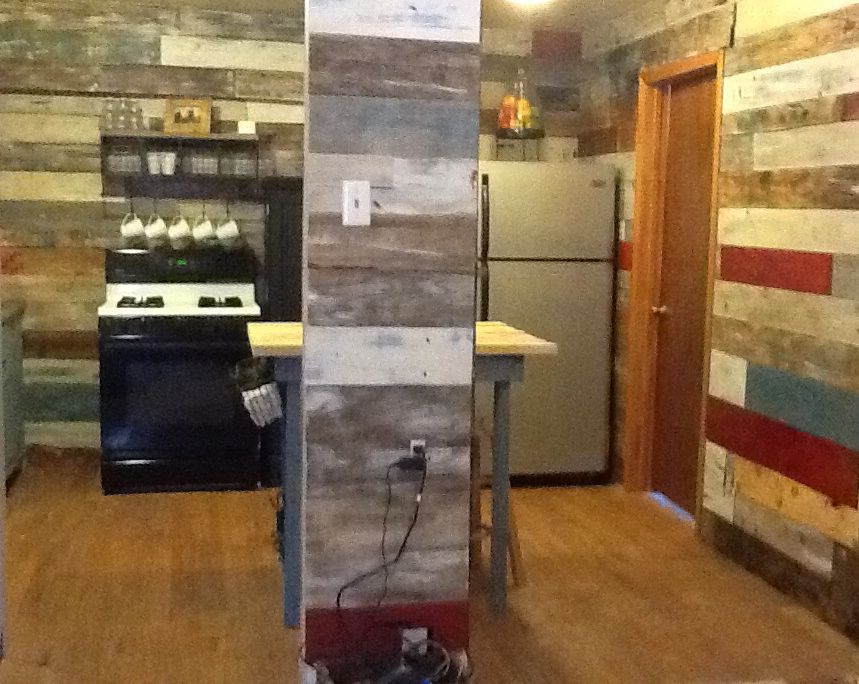
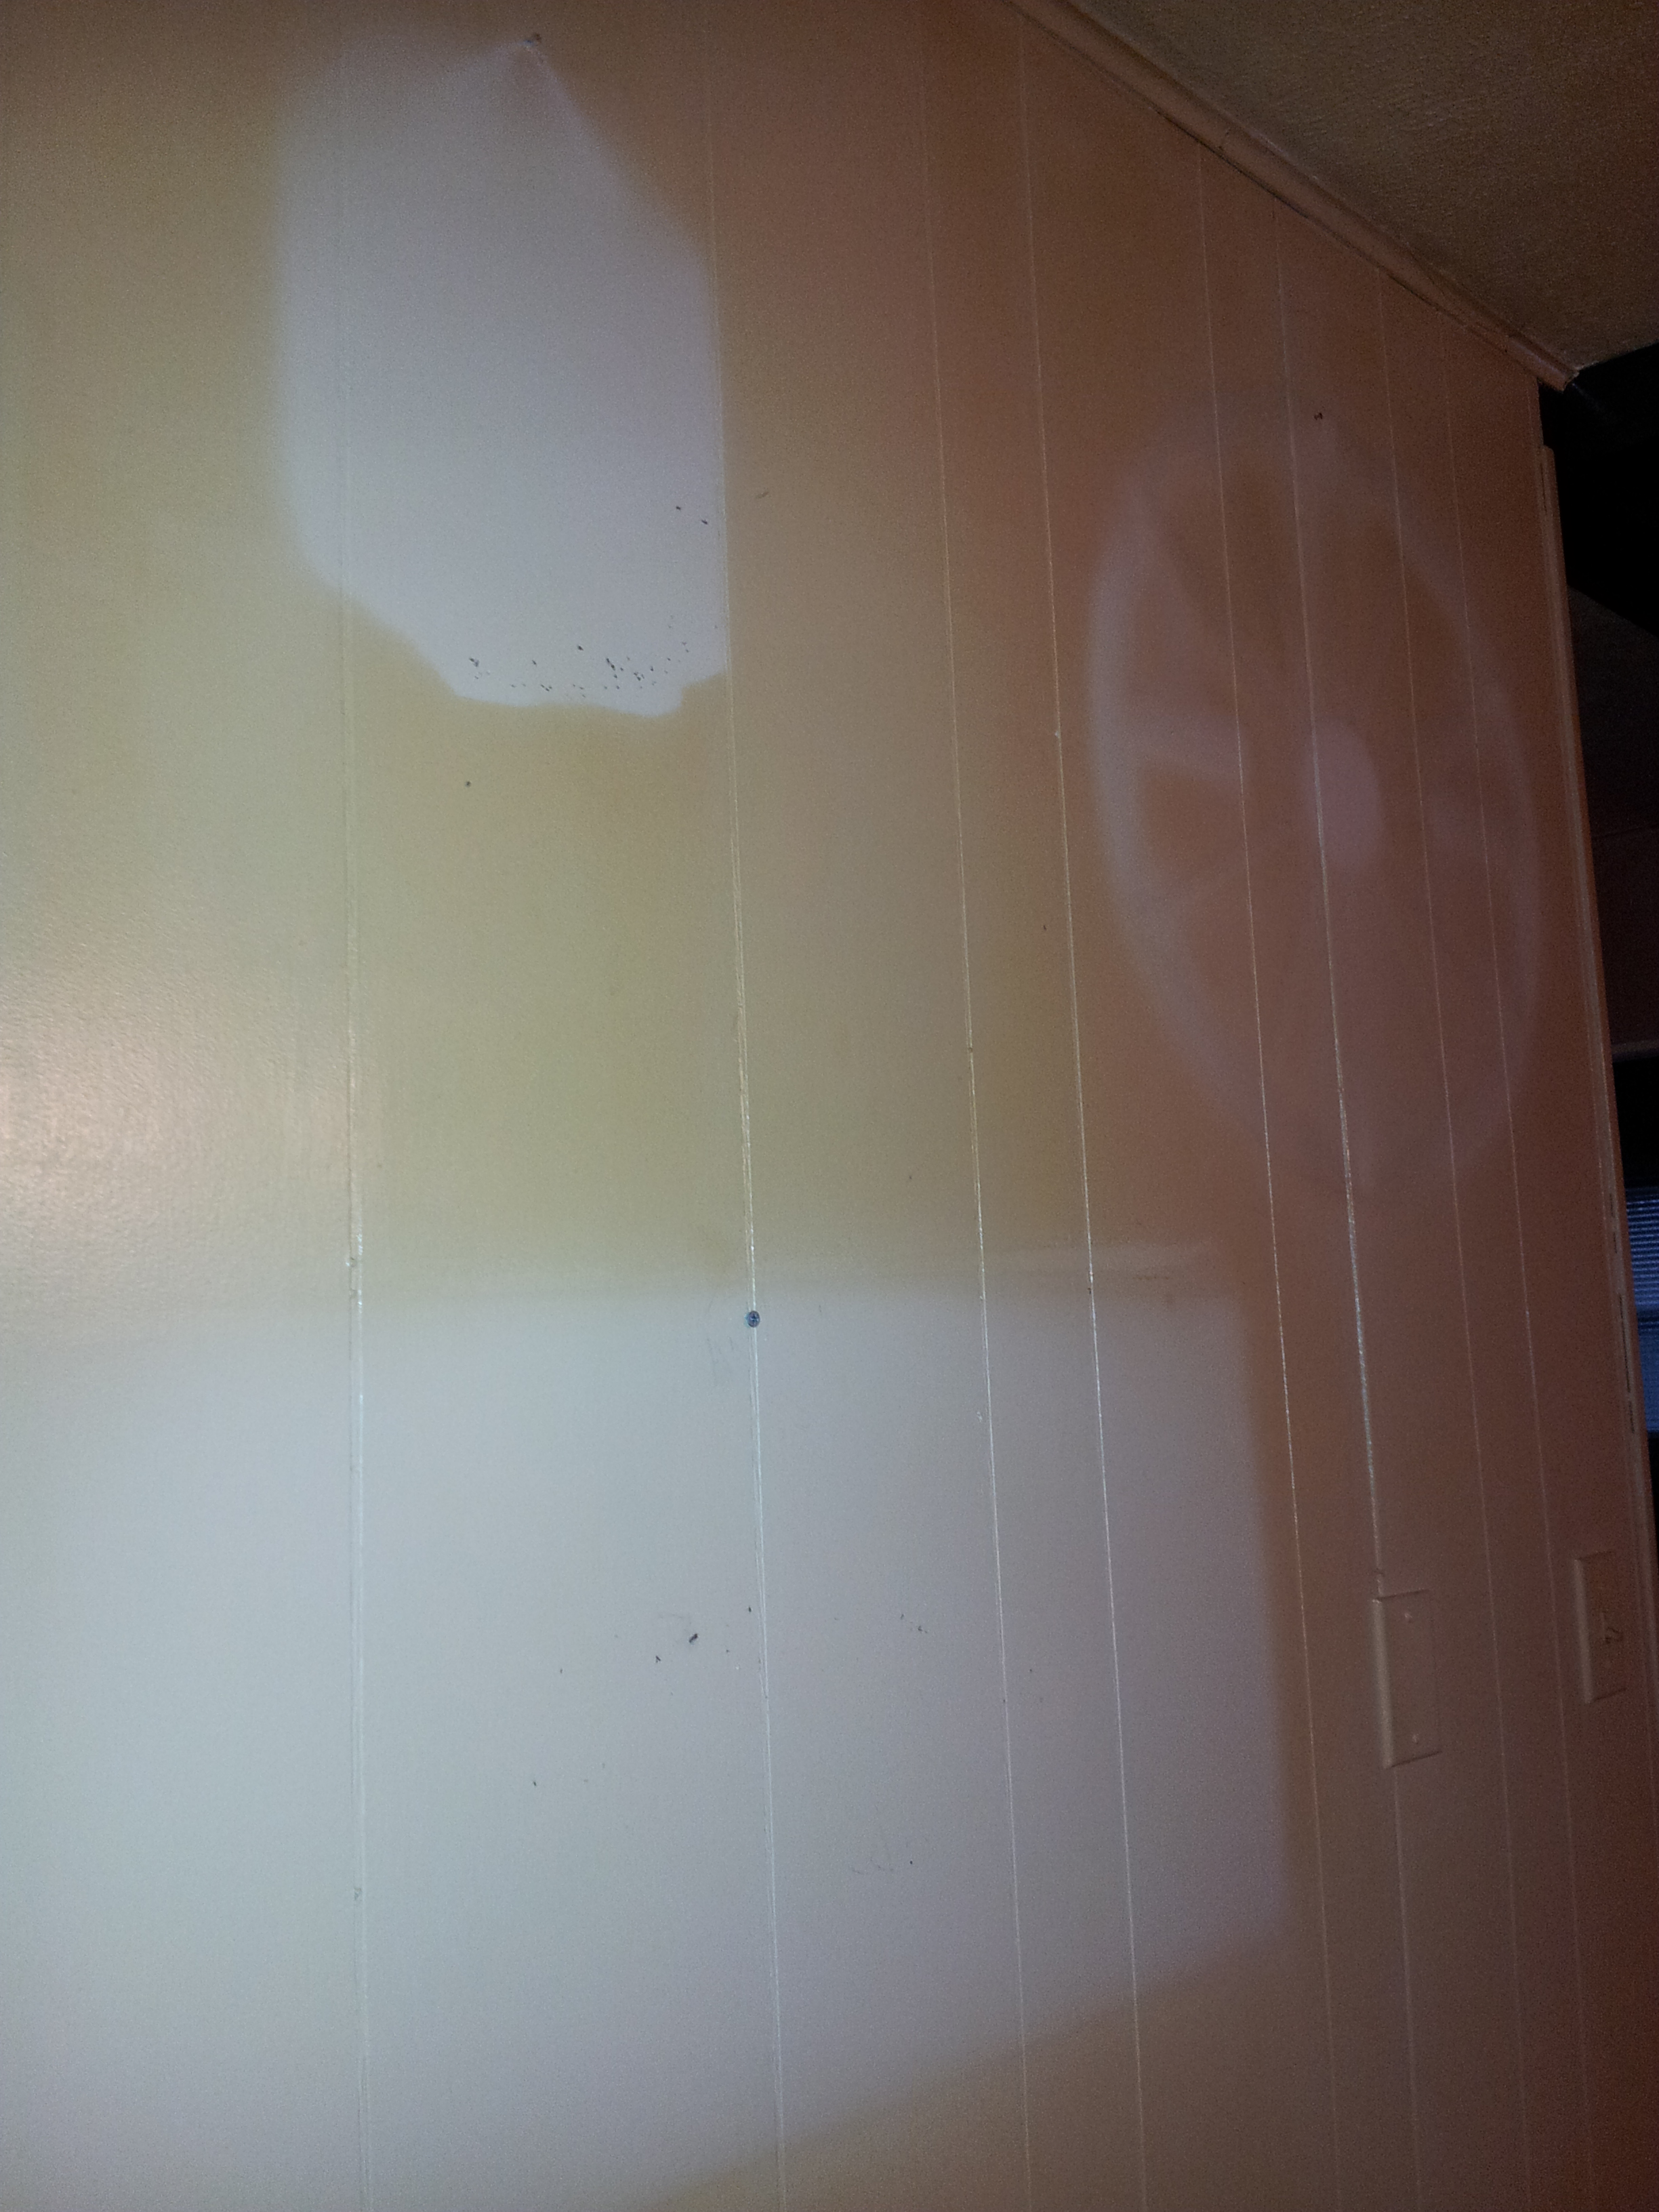
When we first went to see this house, our realtor told me that they smoked in their house.  Well, I must admit, as ashamed as I truly am, I smoke.  However, I never have smoked in our home.  So I didn’t think much of it.   I figured I didn’t smell it because I smoke.   It wasn’t until after closing, when we walked into the house, that it knocked me over.  Just unbelievable.  It was awful.  Dripping from EVERYWHERE.  Here are pictures.

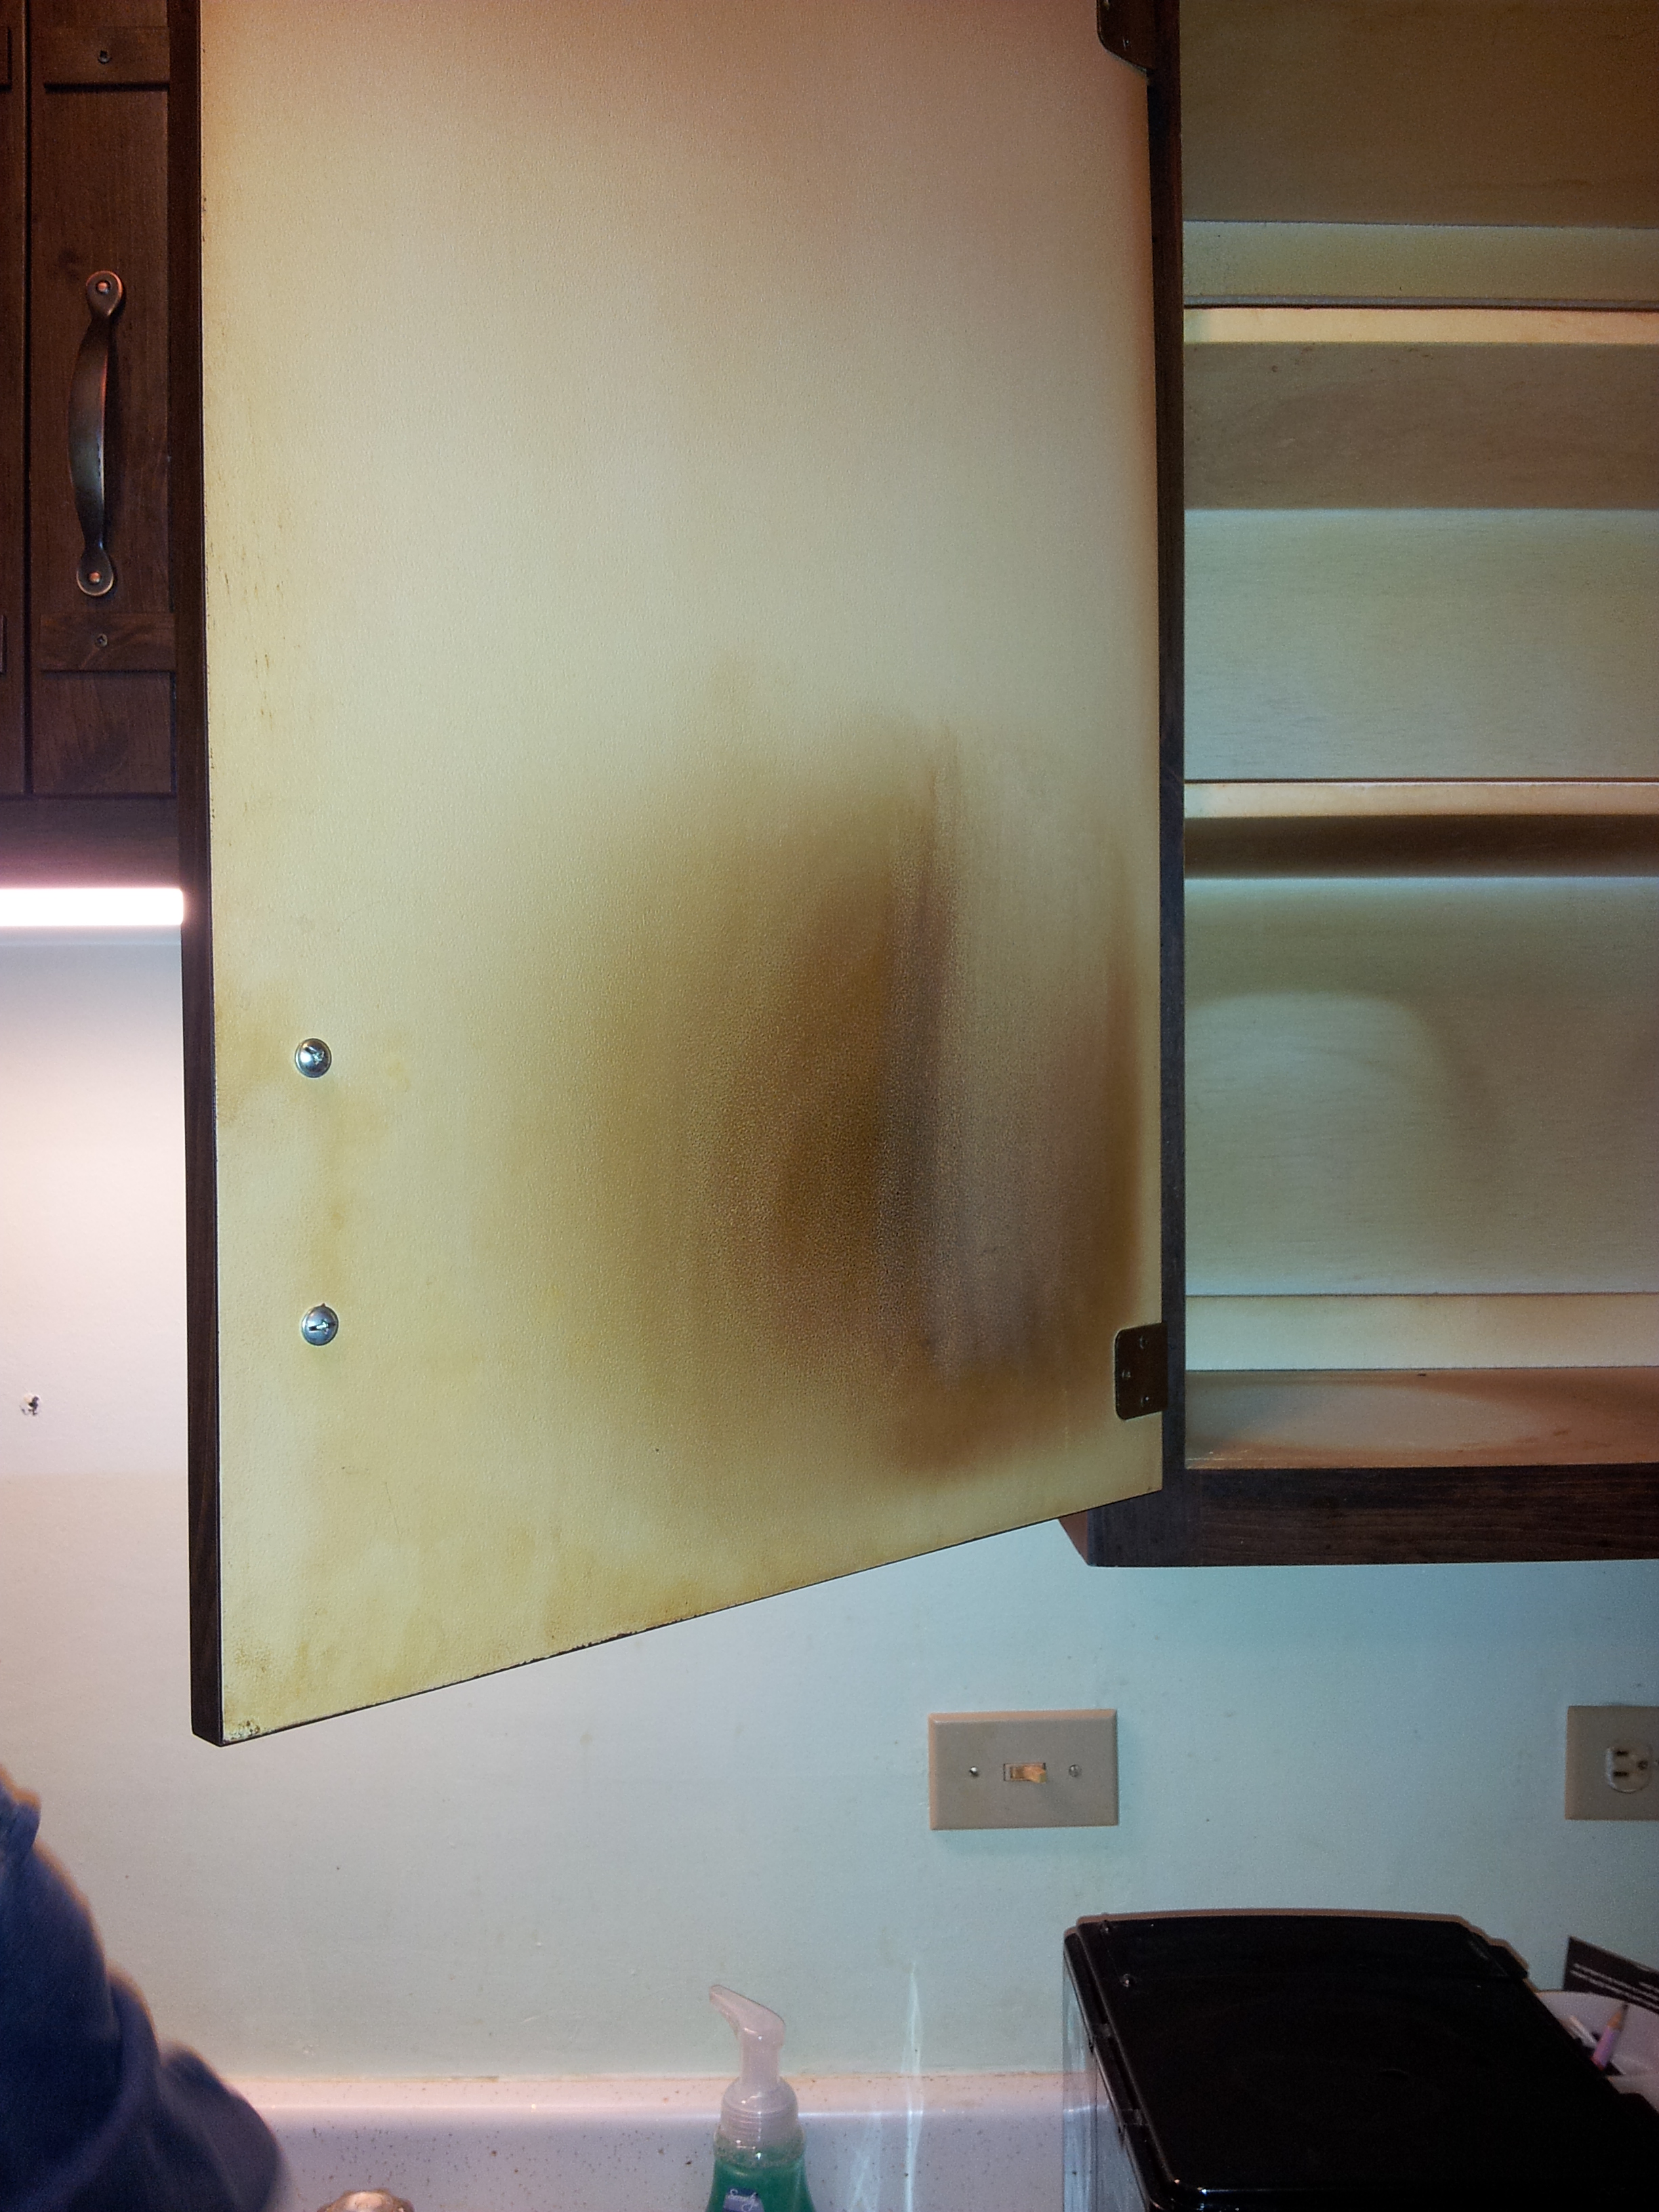
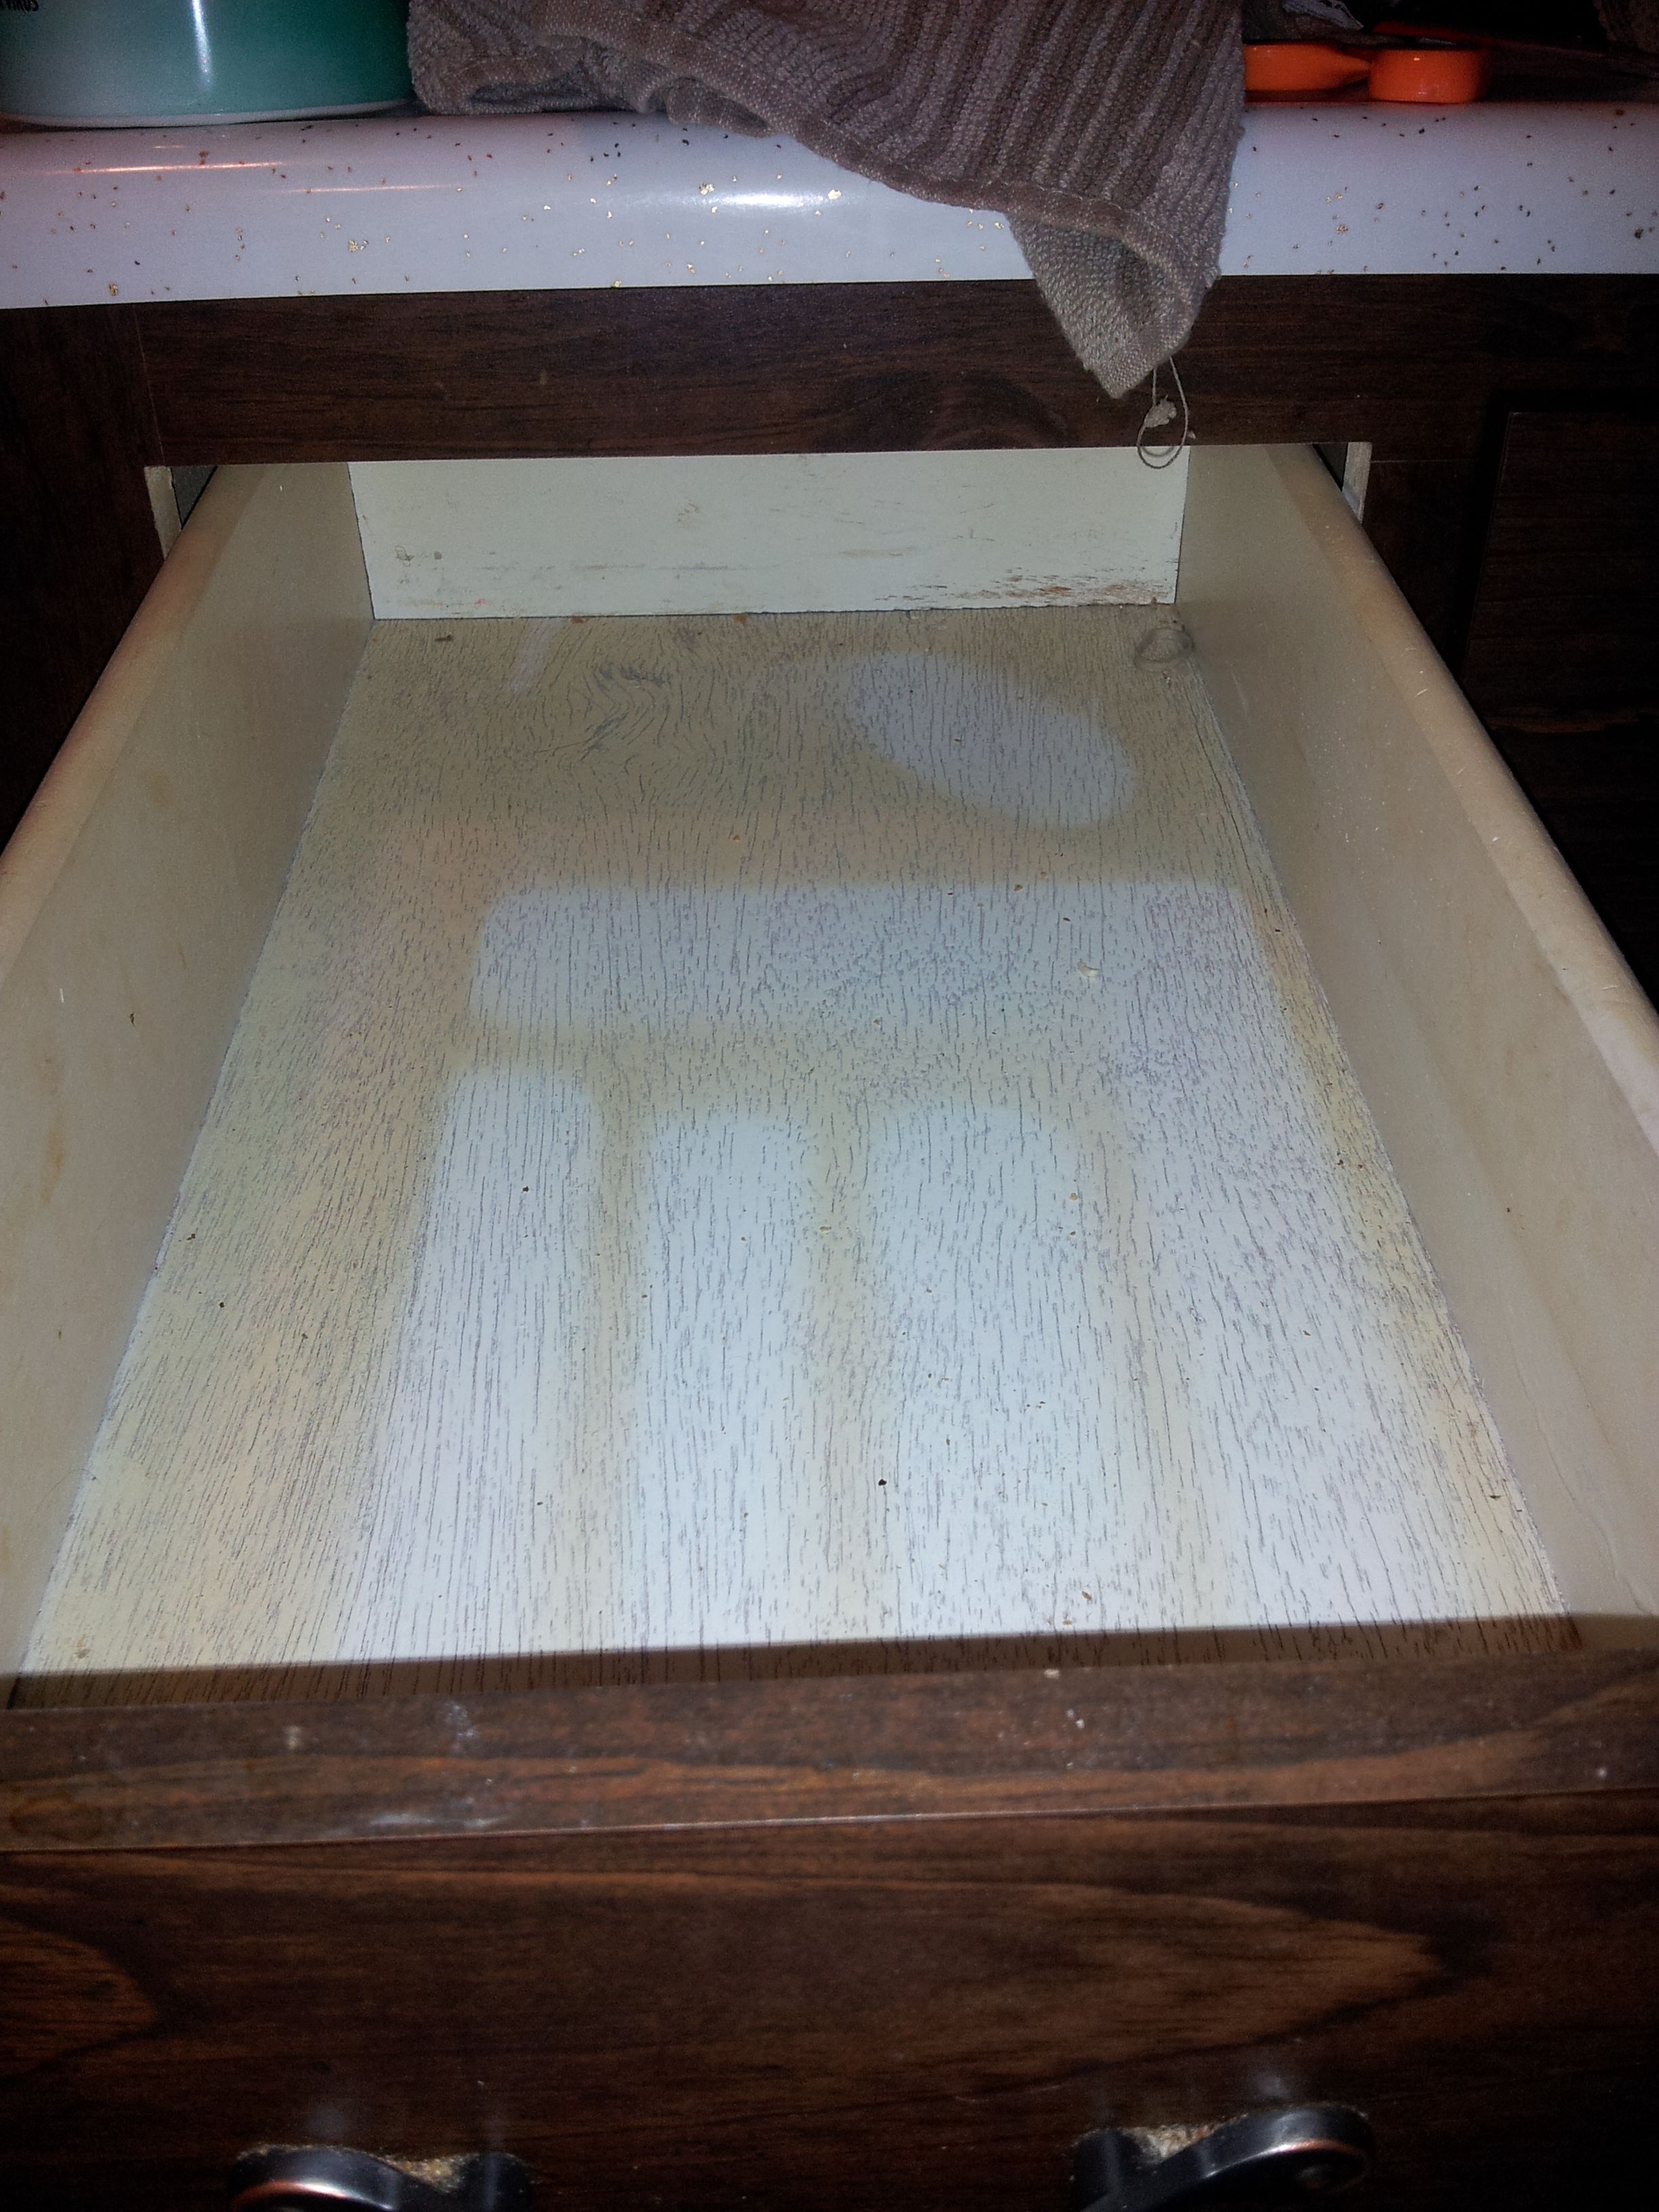
Now think about it, how in the world THAT much nicotine got into the cabinets???  I know it seeps in of course, but OH MY GOODNESS!  Look at the cutlery tray!!

2013-02-15 17.41.23 2013-02-15 20.58.44 disgusting2-2013

My husband was furious.  He really hadn’t wanted to purchase a second home, and this really wasn’t helping my plight.  I kept assuring him that with a little painting, I’d get it all fixed up.

Our daughter, Dave and myself had made plans to “camp out” there that night.  I was really excited!  I had so wanted a little home on a lake.  He complained all night that the smell was preventing him from sleeping and I really couldn’t argue.  But I kept defending this sweet house, “this house NEEDS us, Dave”.

The next morning I went to pull up the disgusting carpet, only to find this:

Foundation2-16-12

The crack went from the dining area into one of the bedrooms.  How in the hell did this happen, we had an inspection done??  Dave had us packed up and on the way home within minutes, while he called the realtor.  And then a lawyer.  Nope, nothing.  Not a thing that could be done.  Did they know about the crack?  Eh, I like to think the better of people, but when you walked on it even with the carpet down, you could tell something was under there.  I figured they had cable wire or something under there.  So a call to a foundation repair company was made.

Within the next two months, we found out we had termites (yup, had a termite inspection done as well but there was snow on the ground….) then had to completely have the exterior plumbing.  All of this to the tune of $4,000.   The one question we DON’T ask around here is “what’s next?”!

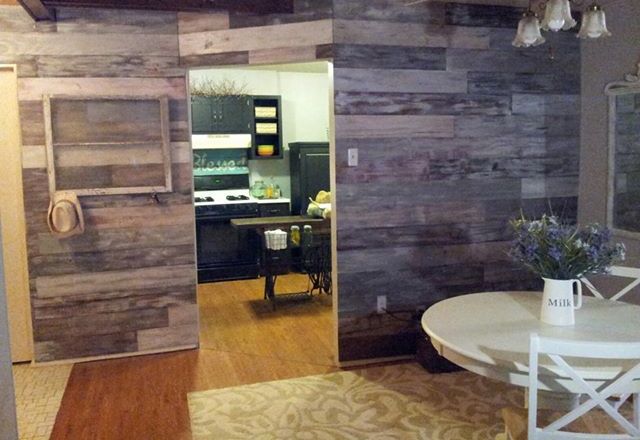
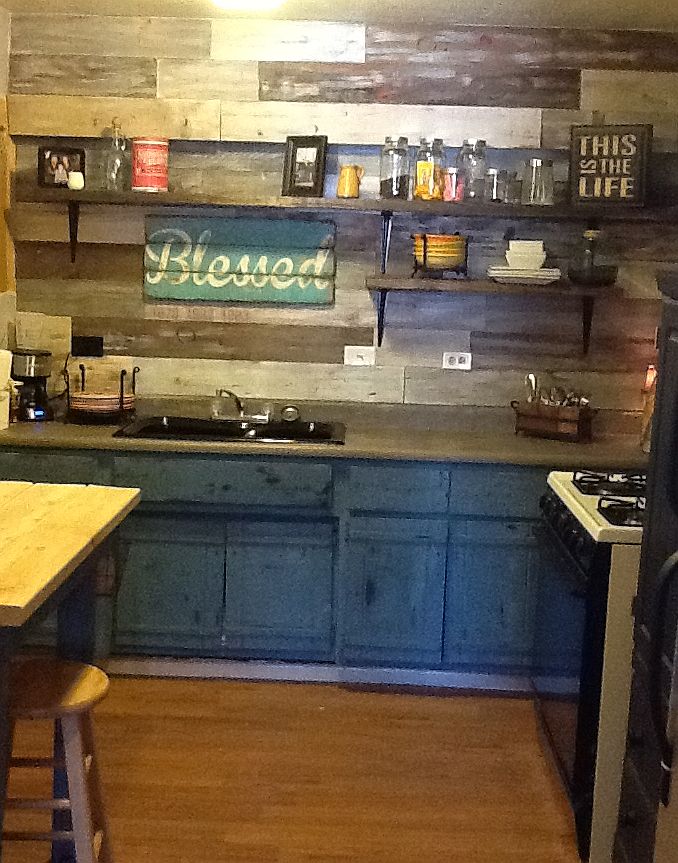
Needless to say, Dave has been up there maybe four times in the last 10 months of owning the house.  It makes me sad, but I’m determined to create this house into a home.


Advertisement

Welcome to The Cartoon Kitchen!

Thanks for visiting!  This is my first experience blogging my decorating endeavors. Friends and family kept insisting that I post my projects and ideas to a blog, so I finally relented, and here we are!

First off, I’ll give you a little background on the name of my blog, The Cartoon Kitchen.  This goes back over 20 years, to when my husband and I bought a house in the suburbs of Houston, Texas. To call this house a “fixer-upper” would be an understatement.  Let’s just say that my introduction in design and renovation were born from complete necessity!

One of my favorite projects was completely remodeling the kitchen. I decided to take a completely original approach and hand paint everything–the checkerboard walls, the wallpaper border (though there was no actual wallpaper), all the way down to decorating the tiled backsplash with hand-painted flowers.  Everything was original, colorful, and 100% original.  My three children would have their friends over and they all made the same comment, “It looks like a cartoon!” I suppose that’s a compliment, right?

And the rest, they say, is history!

Fast-forward to 2014, and our children have left the coop and my husband and I are comfortable in our own little slice of heaven in Columbia, Missouri.  In December of 2012, we purchased a lake house in Kirksville, Missouri which was in desperate need of some help.  Just consider that house my work of art, my Sistine Chapel! I’m determined to make that house just as undoubtedly original as our cartoon kitchen so many years ago.

What I really want out of this blog is some feedback (good or bad!) and advice from anyone who shares my love of remodeling and creative projects. I visit so many web sites daily and get so much inspiration from like-minded people who are able to put their work online and make it available for everyone to see. To all of you bloggers out there, I envy your bravery!

So here goes nothing!

-Susan

Wood Slat Walls

diningroom

One of the many things that HAD to be done to our lake house, was to either tear out all the sheetrock, or somehow cover it.  The people before smoked in there, and I don’t mean every now and then, they chain smoked in there.  Oh my, it was disgusting.  It was dripping off all the walls and windows.  After painting 2 coats of primer, only to have it seeping back through, I decided to just cover them in the dining area and kitchen. My daughter, who also has helped in the renovation project, kept yelling, “The walls are weeping!”  It truly was awful.

I wanted something rustic looking that I could make myself.  I initially tried the vinegar with steel wool idea, but it wasn’t giving me the color on the wood that I wanted.

I stumbled on the blog Beyond the Picket Fence and she had some great techniques to paint old pallets. I actually tried the pallet route, but they weren’t going to work for this project since they needed to be completely straight. I can’t tell you how many weekends were spent peering behind grocery stores, hardware stores, and just about anywhere we thought might have some pallets that might need a new home. When employees didn’t find us downright weird, most were more than happy to offer up a few.  I’ve since used a lot of them, but again, not on this project.

I decided that I only needed thin (read: cheap) wood strips.  I went to HomeDepot and bought 1/4″CD (not sanded) plywood, and had them cut 8 strips, 6″ wide pieces for each sheet of plywood.  All in all, I ended up purchasing 8 sheets of plywood.  Although I offered, they never charged me for any of the cuts. A little friendliness goes a long way!

On some of them, I dry-brushed paint first, on some I stained first.  I pretty much threw on what I had.  I wanted them to look similar to the wear and tear on pallets, so every now and then I’d splatter paint on them,  I also used a can and dipped the end in paint and then put it on. (I also put some important dates on a couple of them, but more on that later)  Anything to make them look distressed. I ended up putting a coat of stain on at the end.  That takes out that fresh, bright paint look and makes them look a little more weathered.

woodslats2 woodslats1

I nailed them on the walls with my Porter Cable nail gun (My favorite tool!).  Cutting them the length I needed was easy with a miter saw. I cannot tell you how rewarding it is to use heavy-duty power tools like a saw and nail gun, all the while thinking, “I don’t need no stinkin’ professionals! I’m an independent woman!” But I digress.

A few months down the road, I decided that we just had to open up that tiny kitchen.  There’s no windows and it’s just drab in there. Convincing the husband was another story, but in the end, I prevailed (there’s that independent woman again)!  The bad part was, I had to unassemble my beloved wall of wood slats.  Eh, no worries, I figured shoot, I’ll just continue the look on into the kitchen.  At first I thought it might be a bit overwhelming with all the different looks of the wood, but it actually looks cool.

Here are the “after” pictures.  I still haven’t finished, so you’ll have to excuse the unruly cables that connect our internet router to the wall outlet. (Any creative ideas on how to hide all that junk?)  I’m thinking of building a three sided “thing” to hide it all.

newlake1Newlake5

    At the end of the day, I’m pretty proud of myself! I can look at that kitchen and see something truly original. The house is still far from done, but I think this is definitely progress!

-Susan