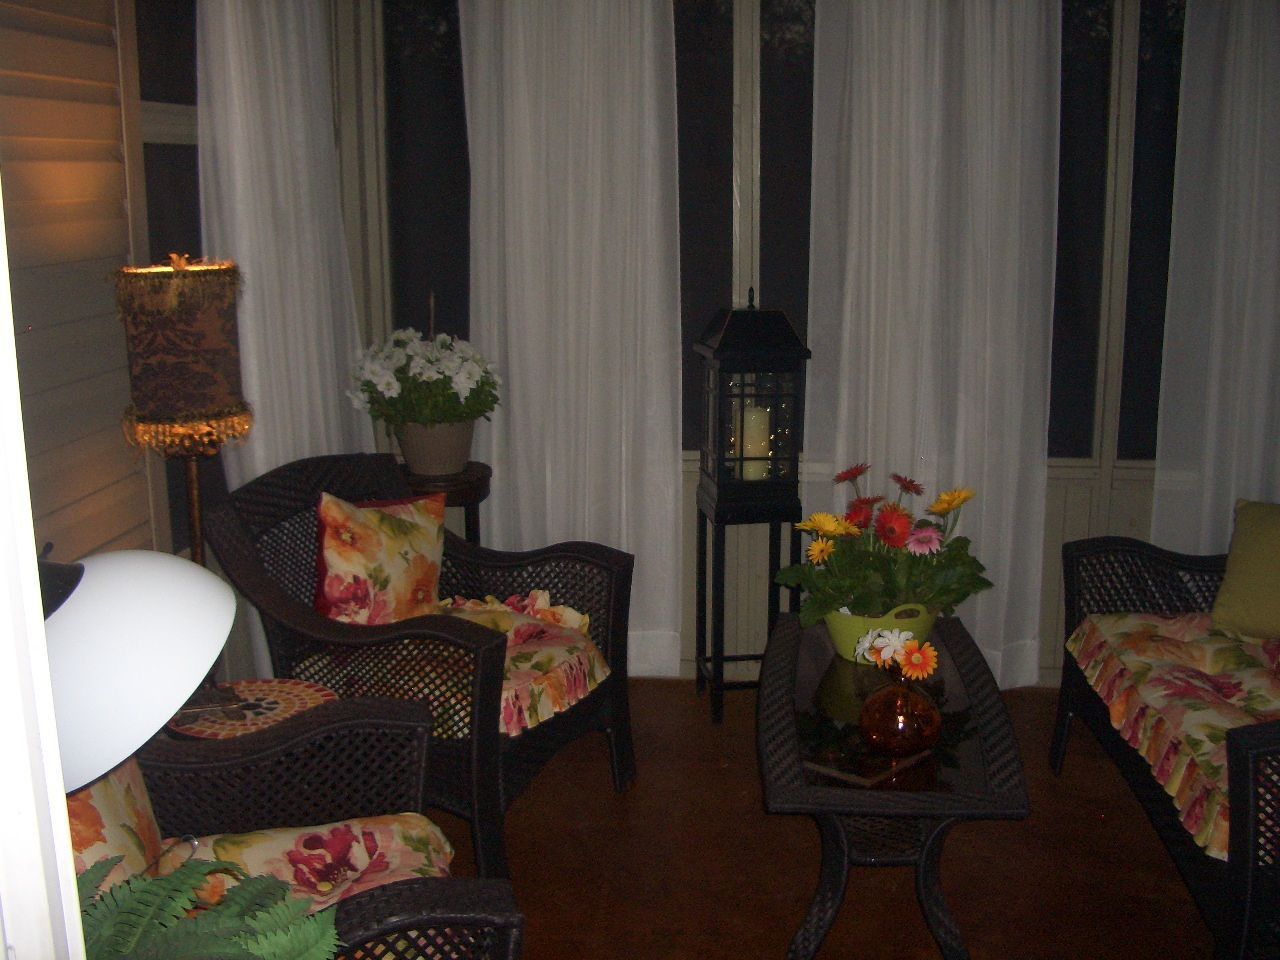
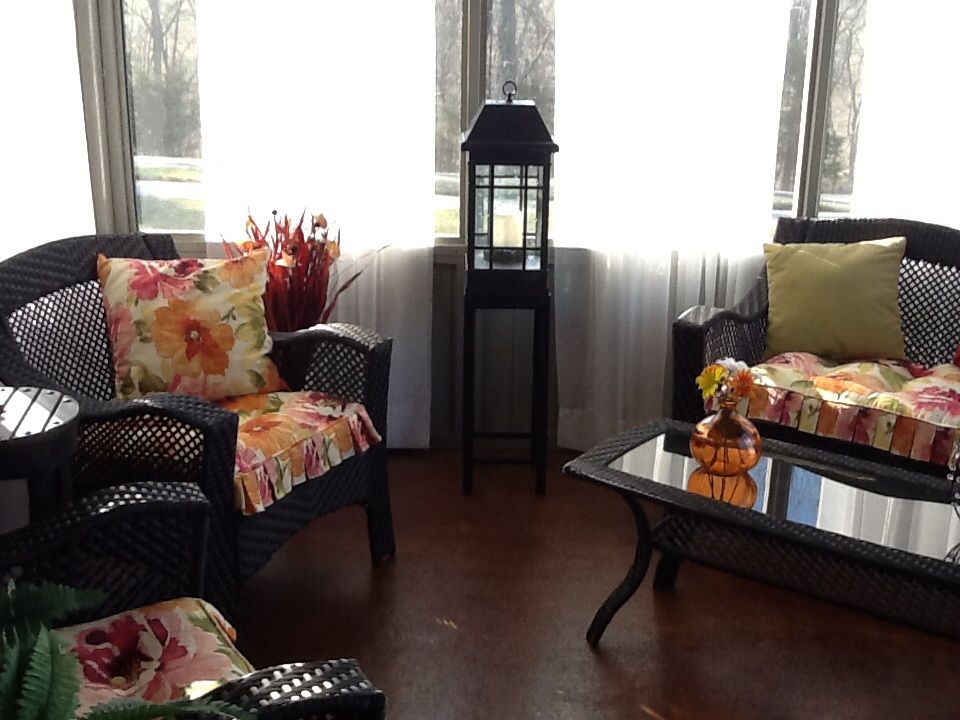
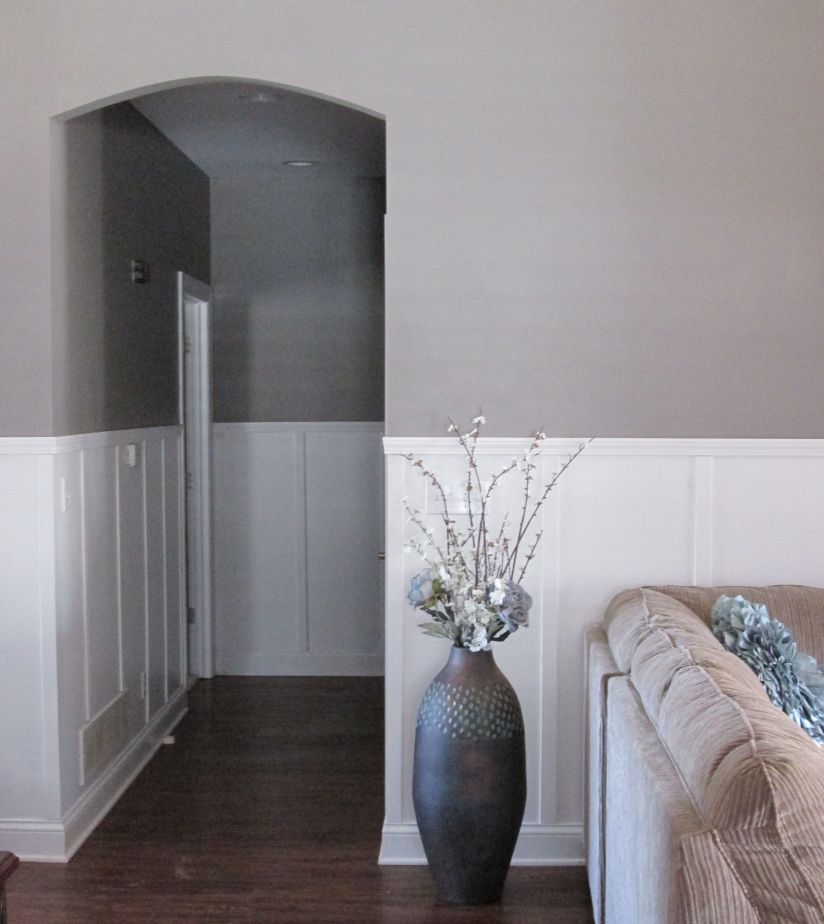
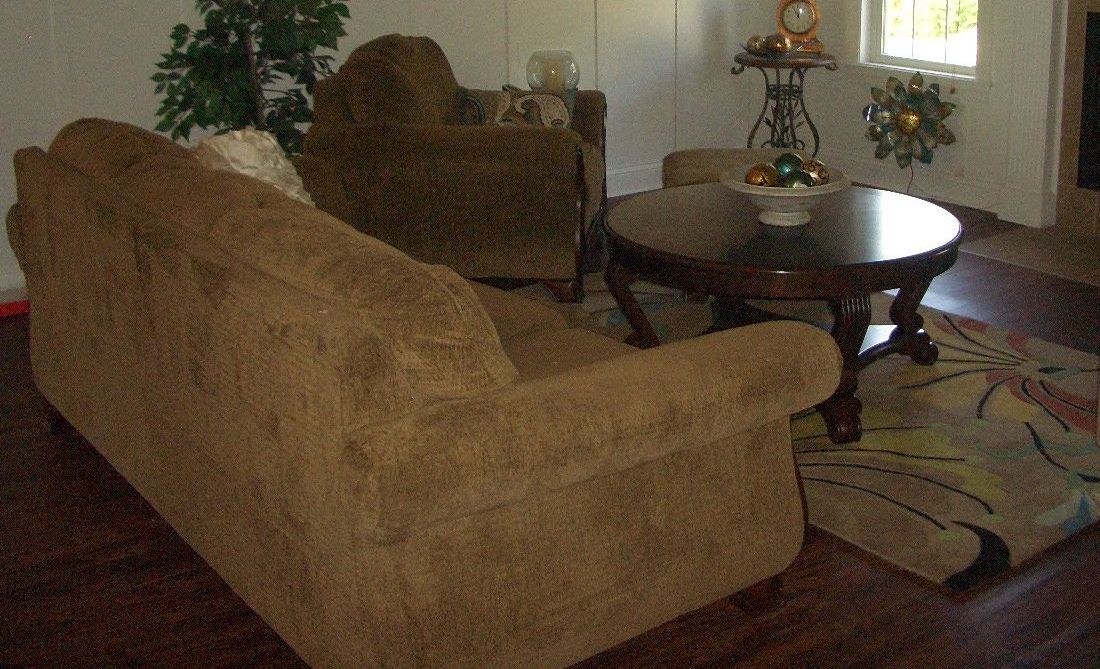
So….I have been wanting to have a beautiful back porch added on to our lake home. Something similar to what we had done here at our house:


I still love the stained concrete floors I did two years ago. I will write a post on that soon!
Welllllll…..Dave didn’t quite agree. Why? “we’ve had to sink ‘this’ amount of money into this house that has been nothing but a snafu so there’s no way we’re spending big bucks on constructing a patio, you’ll have to figure something else out.”
I couldn’t disagree with him but I know that there is no damned way I’m going to sit out on that beautiful deck we have stung and bitten by bugs that I’ve never even seen before. I truly believe they wait there for me to pull up every week or so.
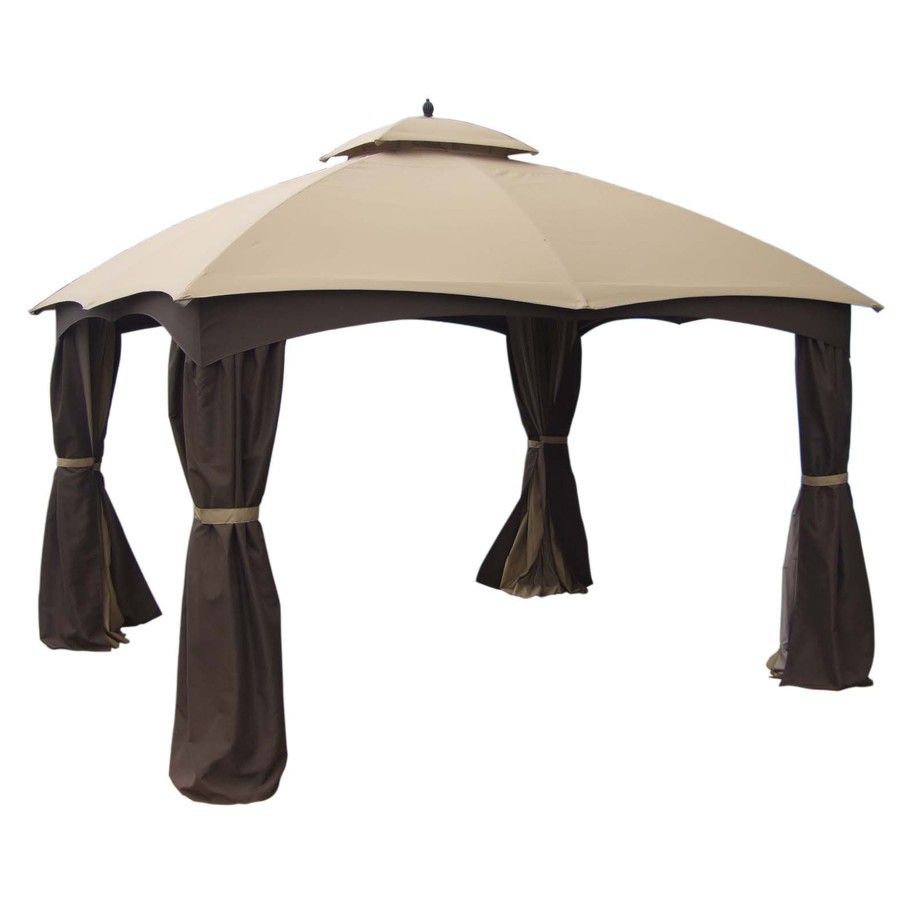
So, to compromise and still have something screened in,we agreed on this from Lowe’s:

It was $499 and looks really well made. I read tons of the reviews and they were all pretty good. The only problem with these canopies, in my own opinion, is sure, they look good from the inside of your house, and they definitely serve the purpose for which you purchased it, but if you are looking at the back of someone’s house with one of these, I don’t know, they look tacky to me. Normally I wouldn’t care, but this is, afterall, a lake house and lots of people are on that lake to see it. But, I don’t gots no choice, do I???? It’s one of these, or it’s saving until I can have the patio enclosure that I really want.
Of course the second we got home with the monstrosity, I started thinking of ways to decorate it inside. I don’t want to slap a couple chairs in there and consider it done. I want to put screen under the deck. I’m telling you, once those weird looking bugs realize, after chomping at the bit when they saw me arrive, that I’m outside but I have screens around me, they will figure out how to get in. Nope, they are NOT going to gain entrance through the slats of the deck!
I want a rug out there, of course. (My goodness, isn’t that what this post was supposed to be about?) Talk about rambling.
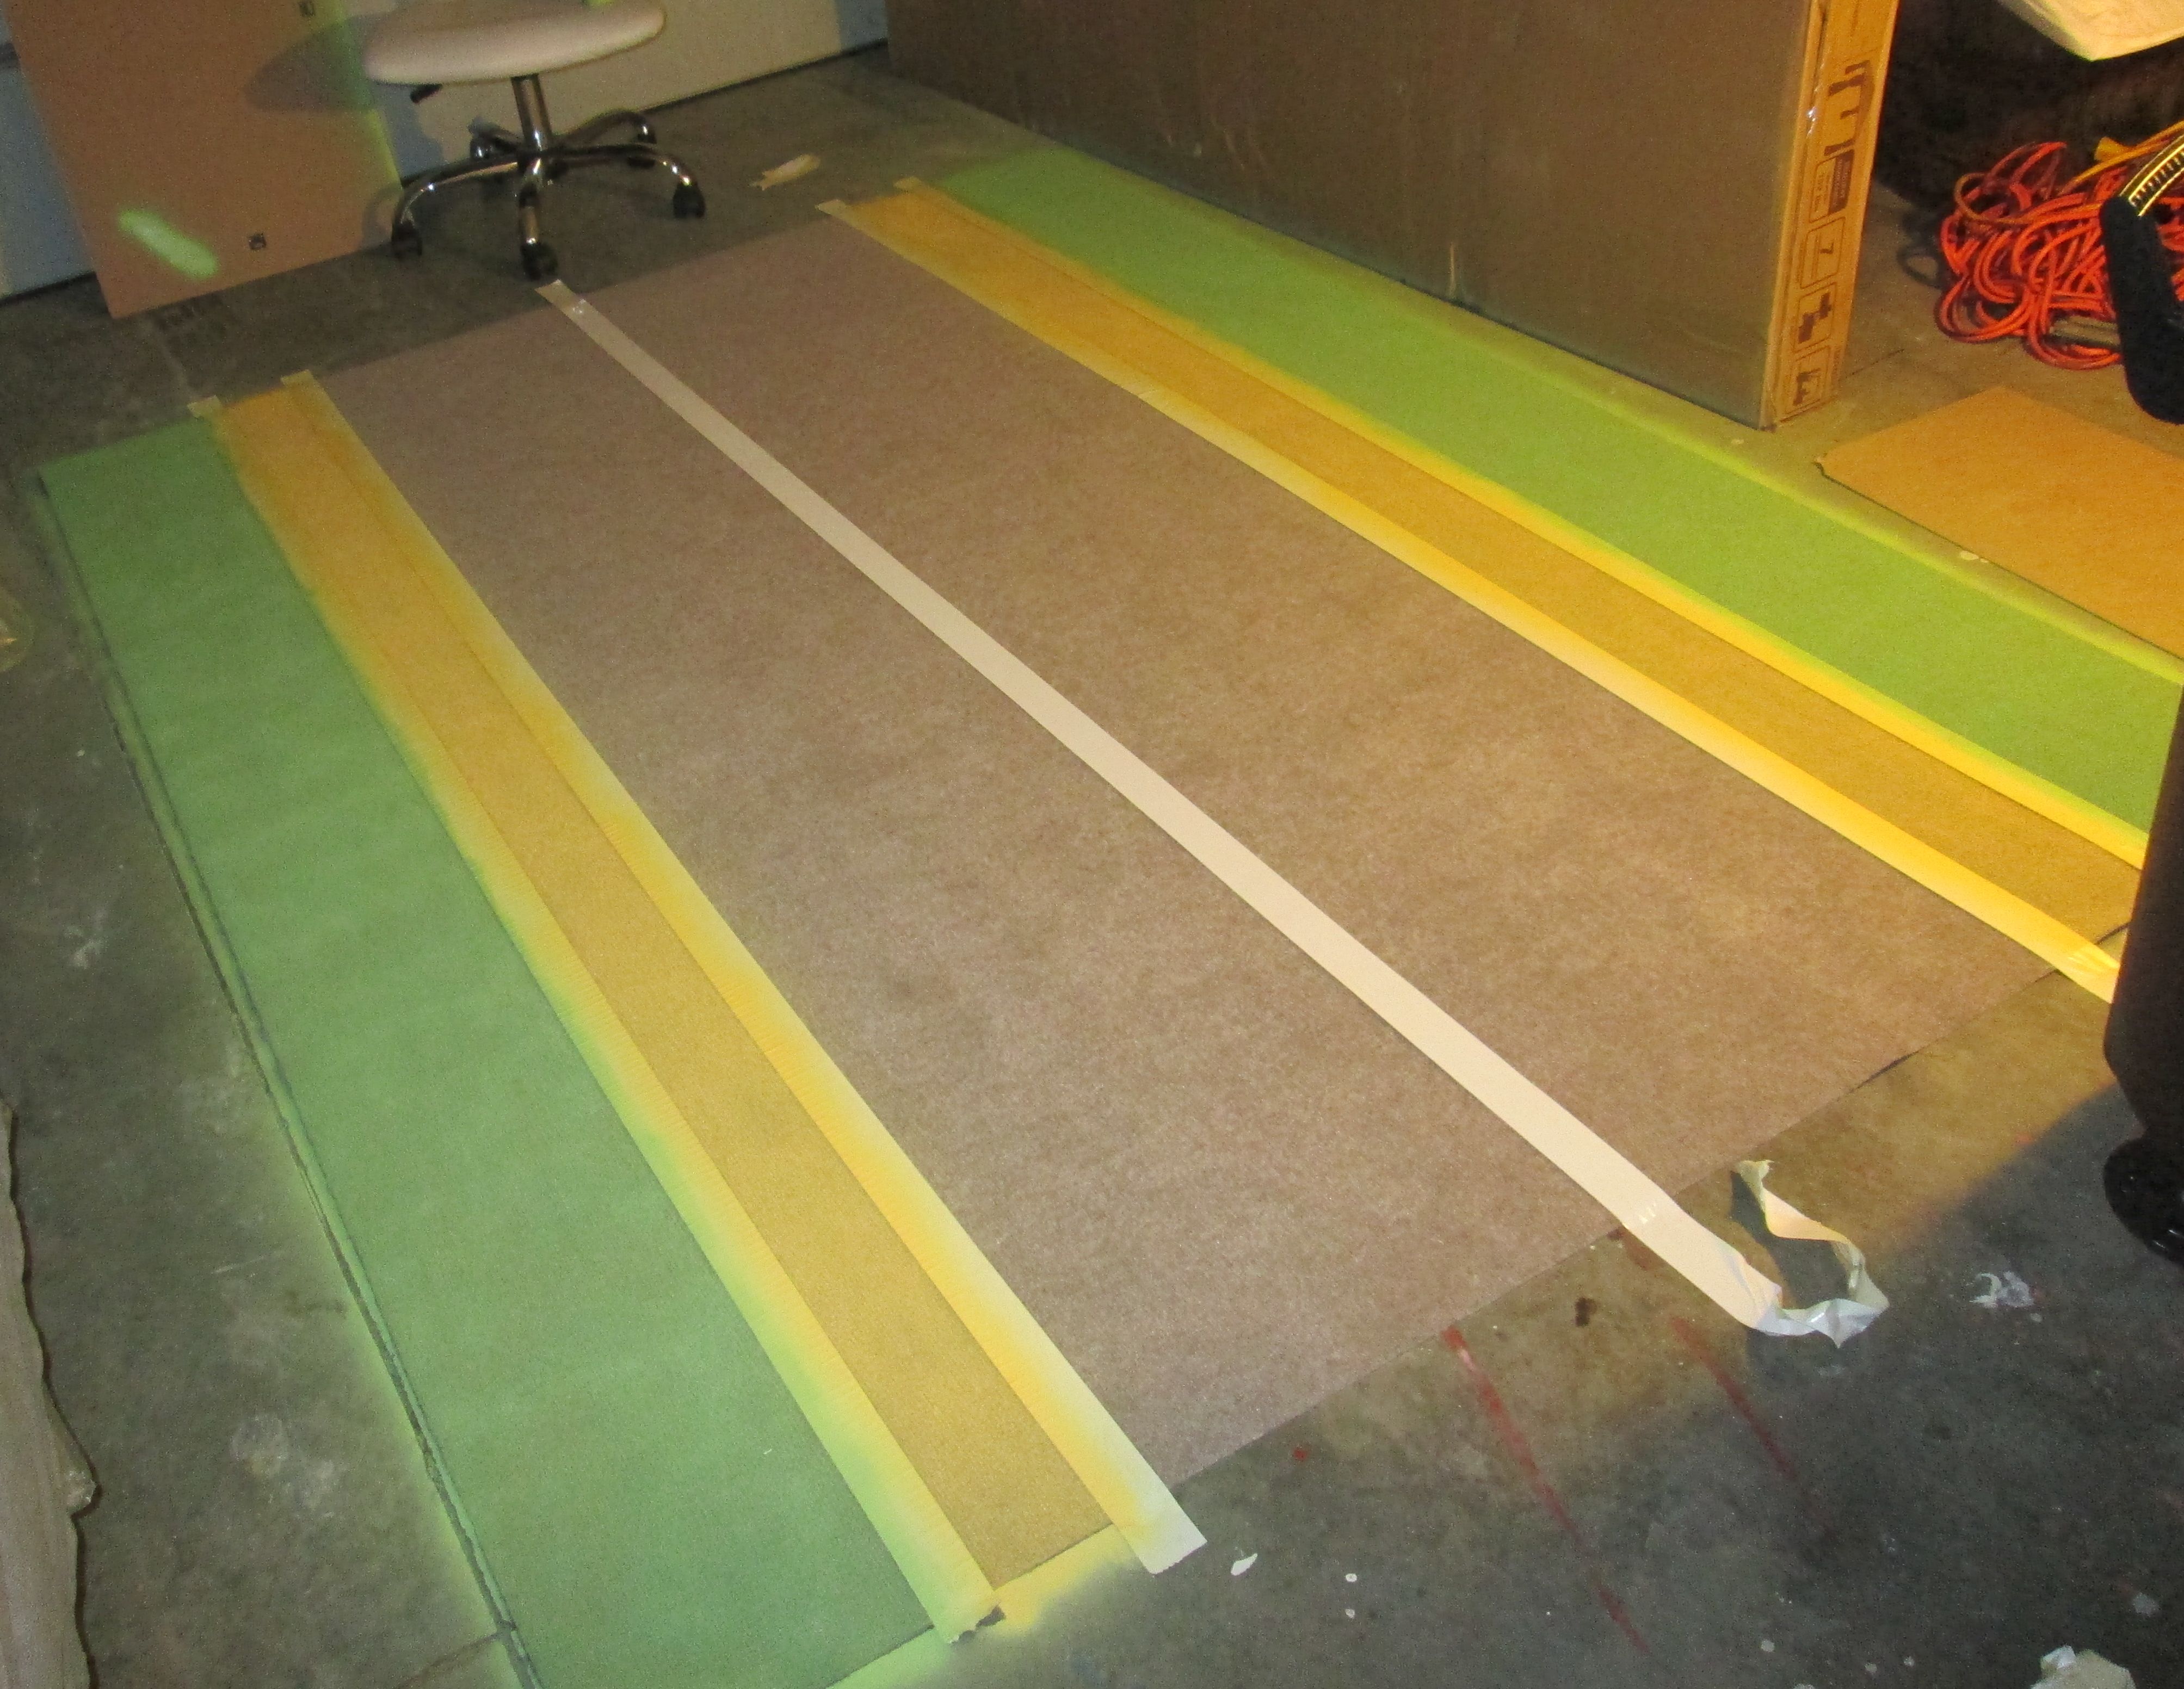
I didn’t care so much for the outdoor rugs that they carry. I was at Home Depot the next day (my love for Lowes and Home Depot knows no bounds) and found a plain, thin, woven rug for $11.97. Ah, perfect:

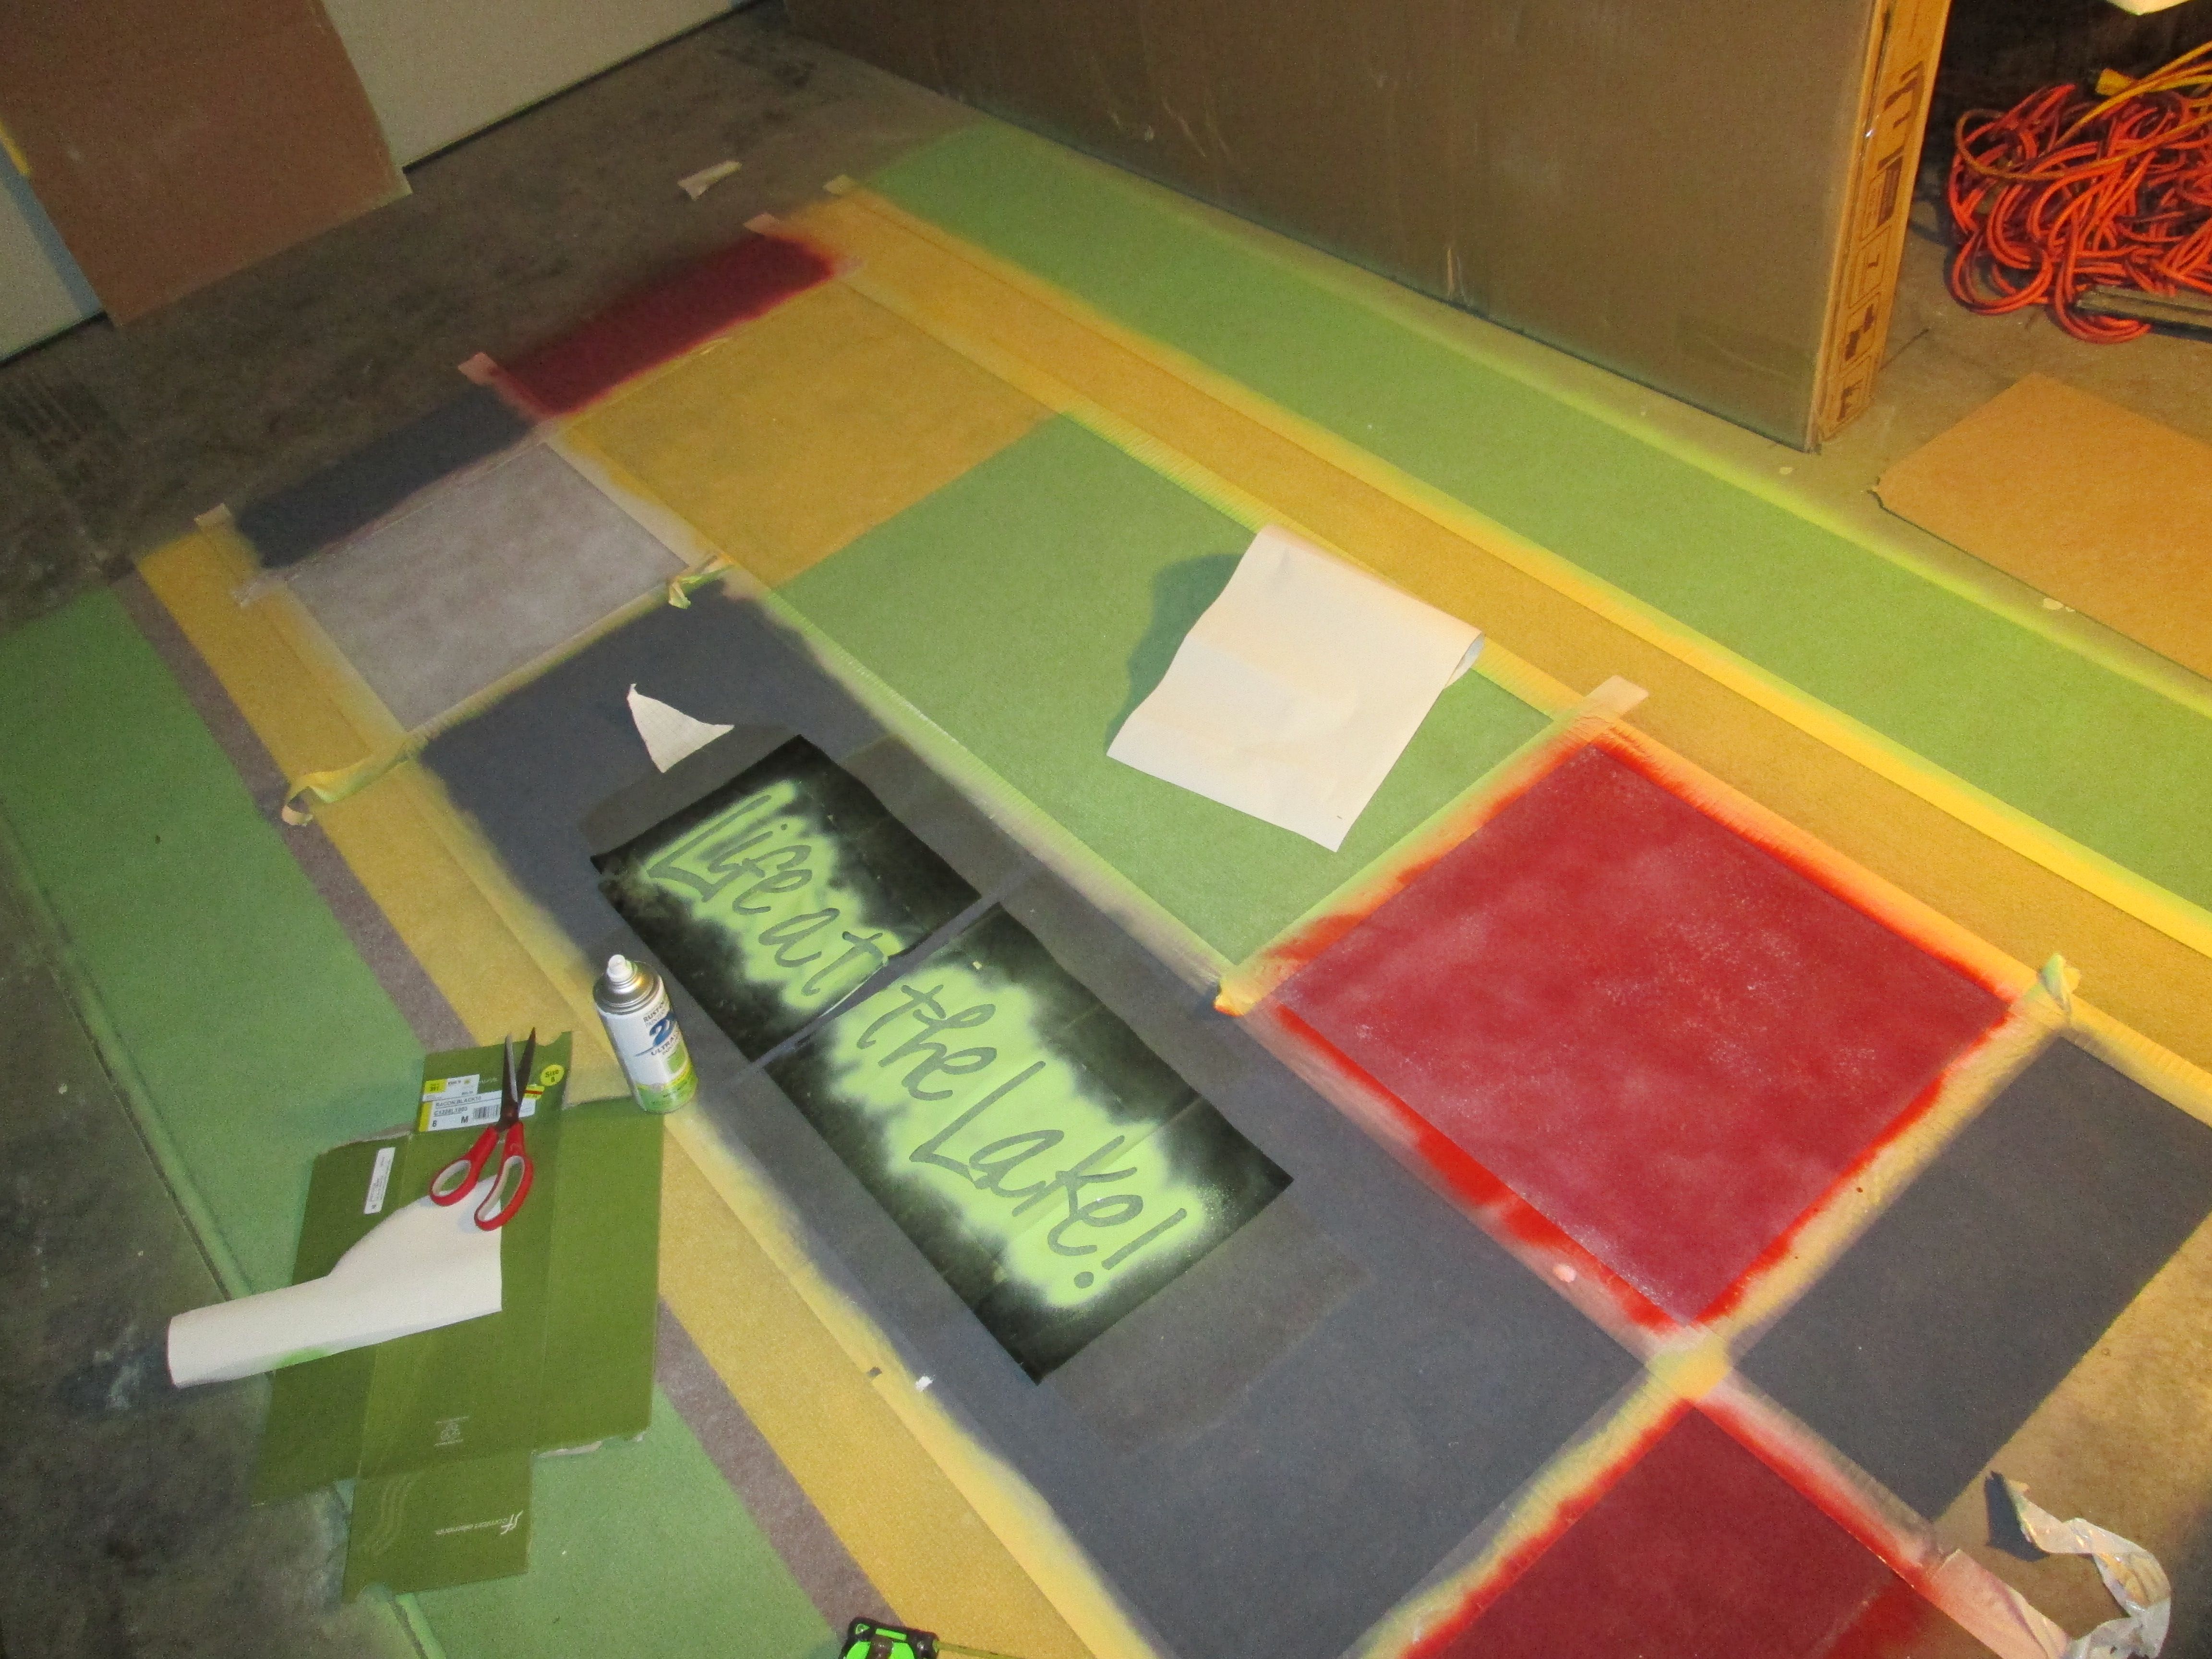
I decided, after researching some other painted rug sites, to use spray paint. I bought the colors that I liked and didn’t pay much attention to anything other than price. Shoot, four cans of spray paint cost more than the damned rug! Here’s the green I used:

I started just taping off stripes. I used duct tape so it would stick to the carpet. I was only concerned that the first stripe on each long end was the same on both sides so I used a cardboard piece that was about the width I wanted my first stripe to be. I did that all along each end and put pieces of tape to keep myself straight.

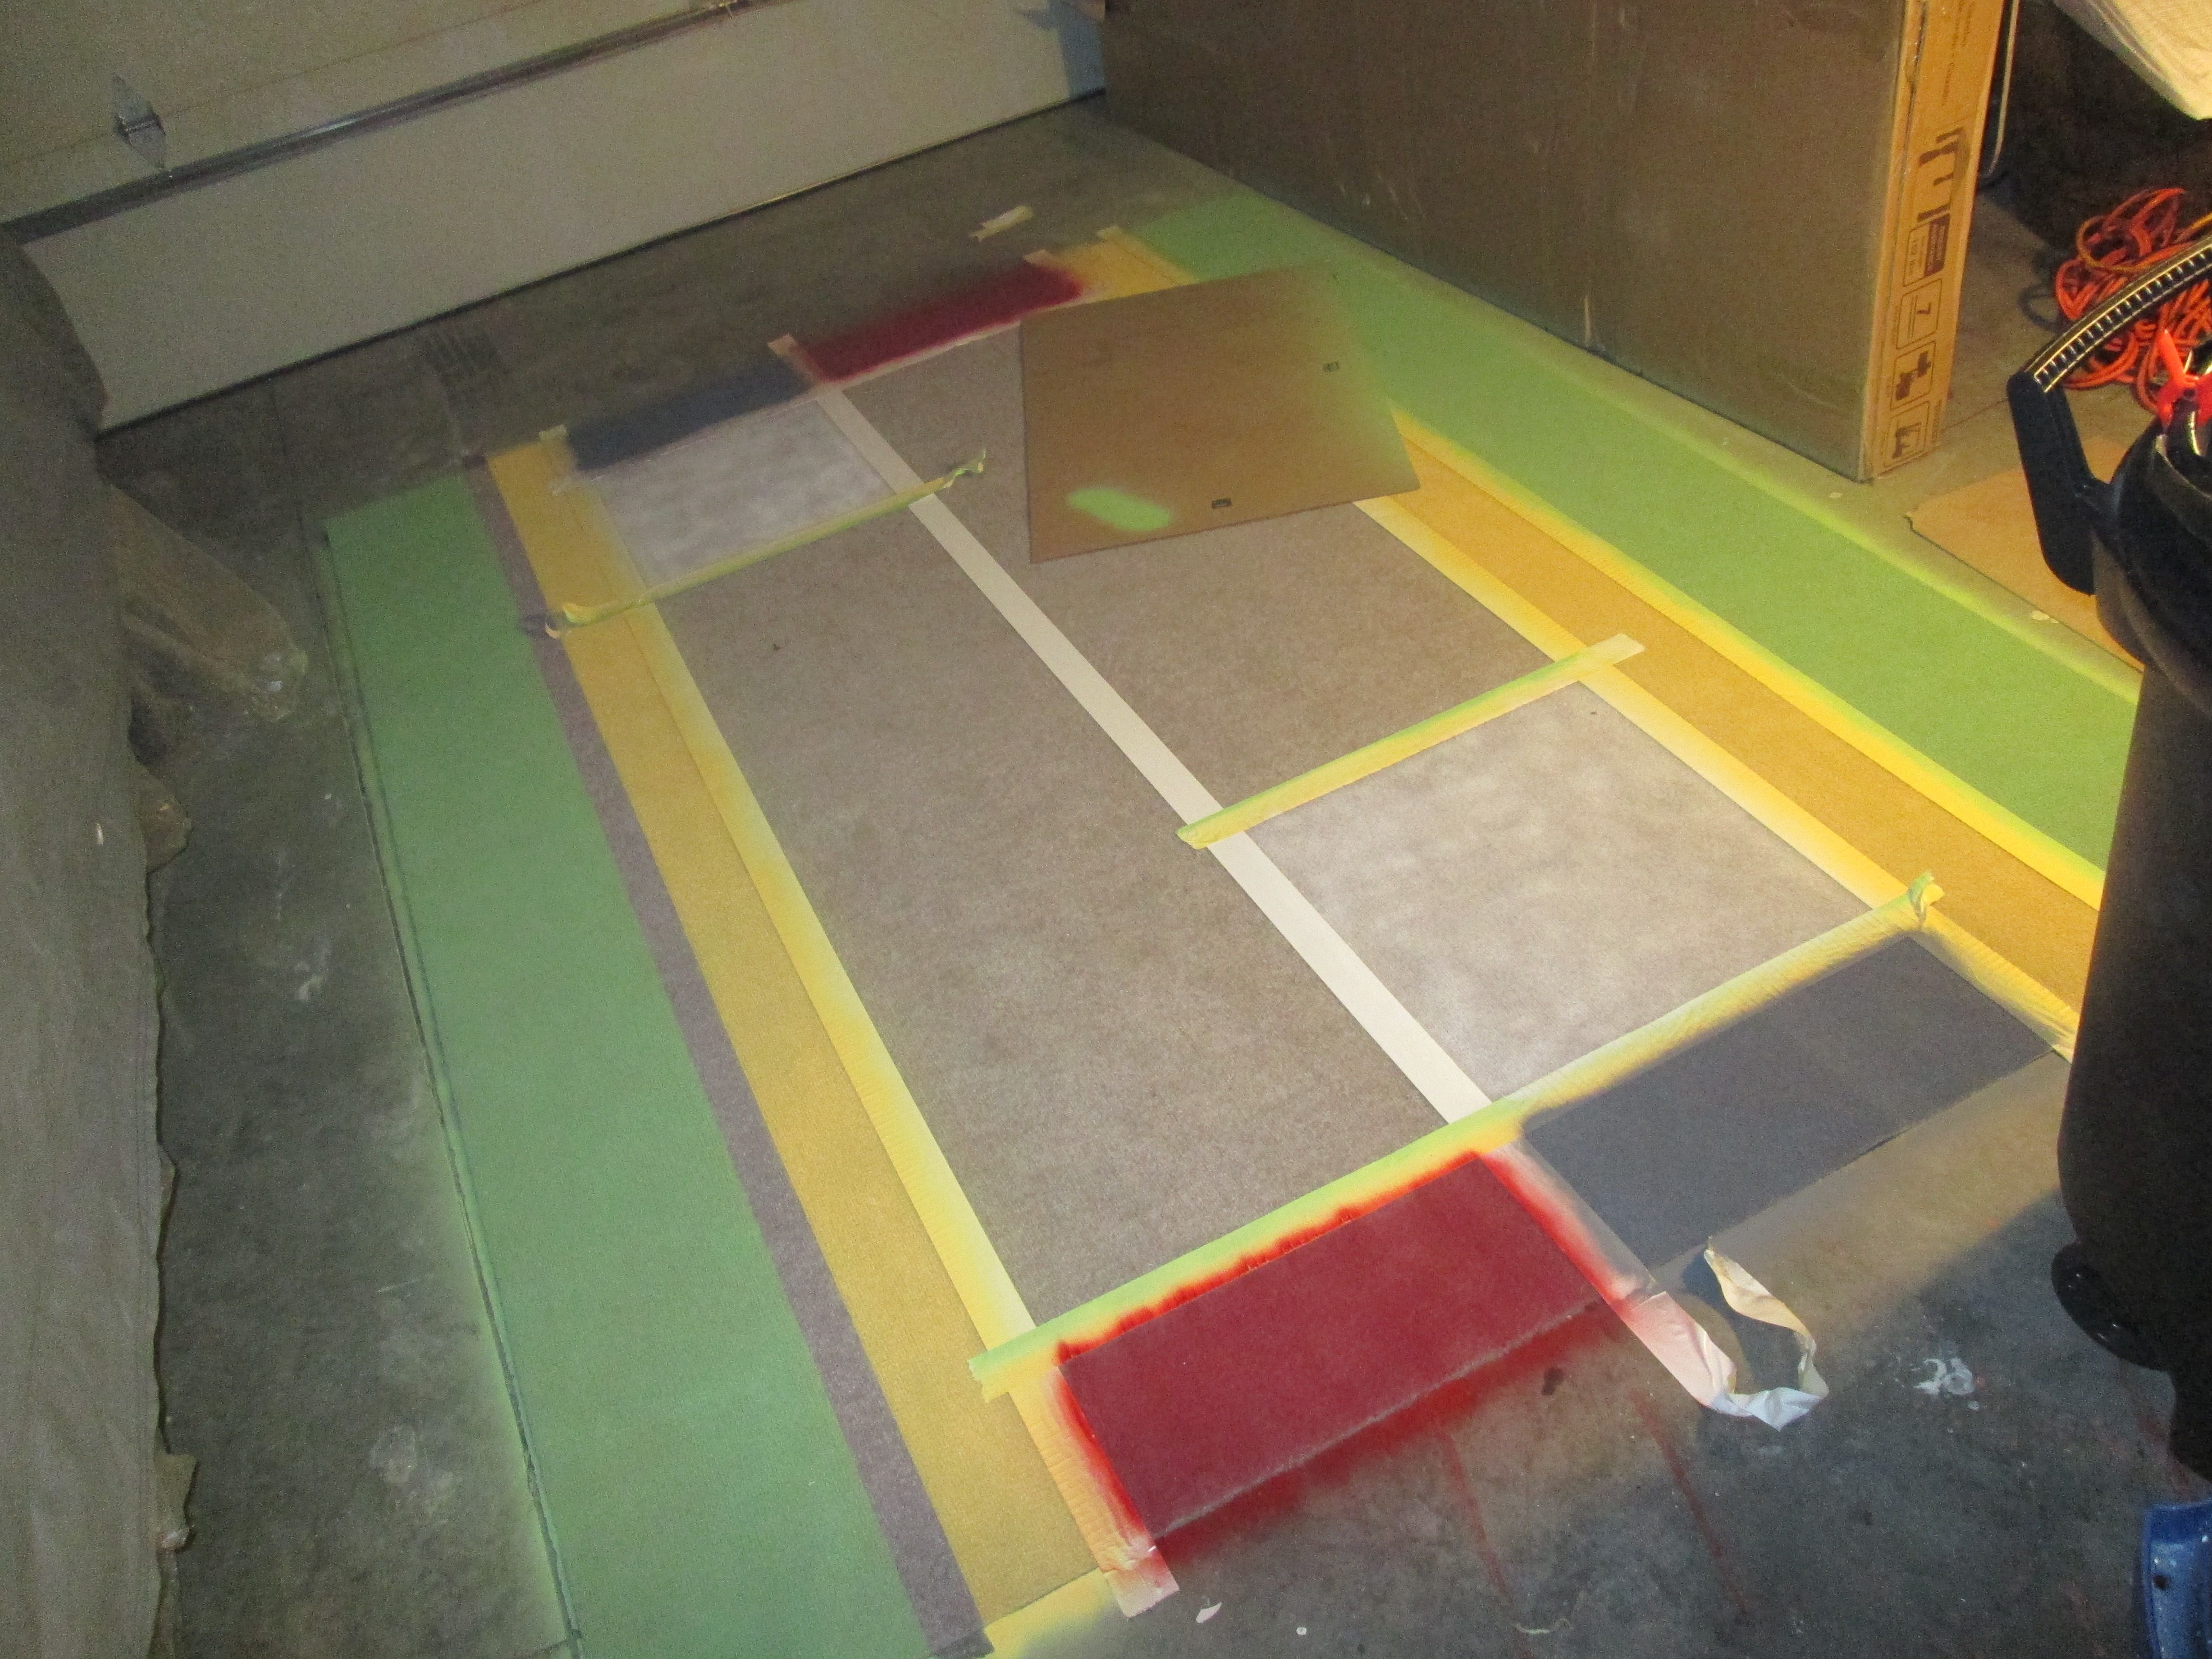
After that, I winged it. Probably a little more than I should have. I should have stuck with plain ole’ stripes, but nope, in typical Susan fashion, I kept going this way and that way!

I ended up making so many dang rectangles that I was messing up whatever color “scheme” I had originally intended. Eh, whatever, I used the spray paints that we had after I ran out of the original colors I had bought.
For many, MANY years, I made window decals (windowdecals.net) and vinyl words and sayings that go on your wall (wordartdirect.com), I have a cutter. For those of you that own a Cricut, that’s basically what it does, but it’s about 20 times that size. I cut my businesses down two years ago from total burnout, but I still have my plotter (cutter) and I still use it for some older customers and for stuff I want to make. So I made a couple of flowers, weeding them (no pun intended there!) backward, so I took out the letters and art and spray painted them on. I made a saying too. Here’s that part:

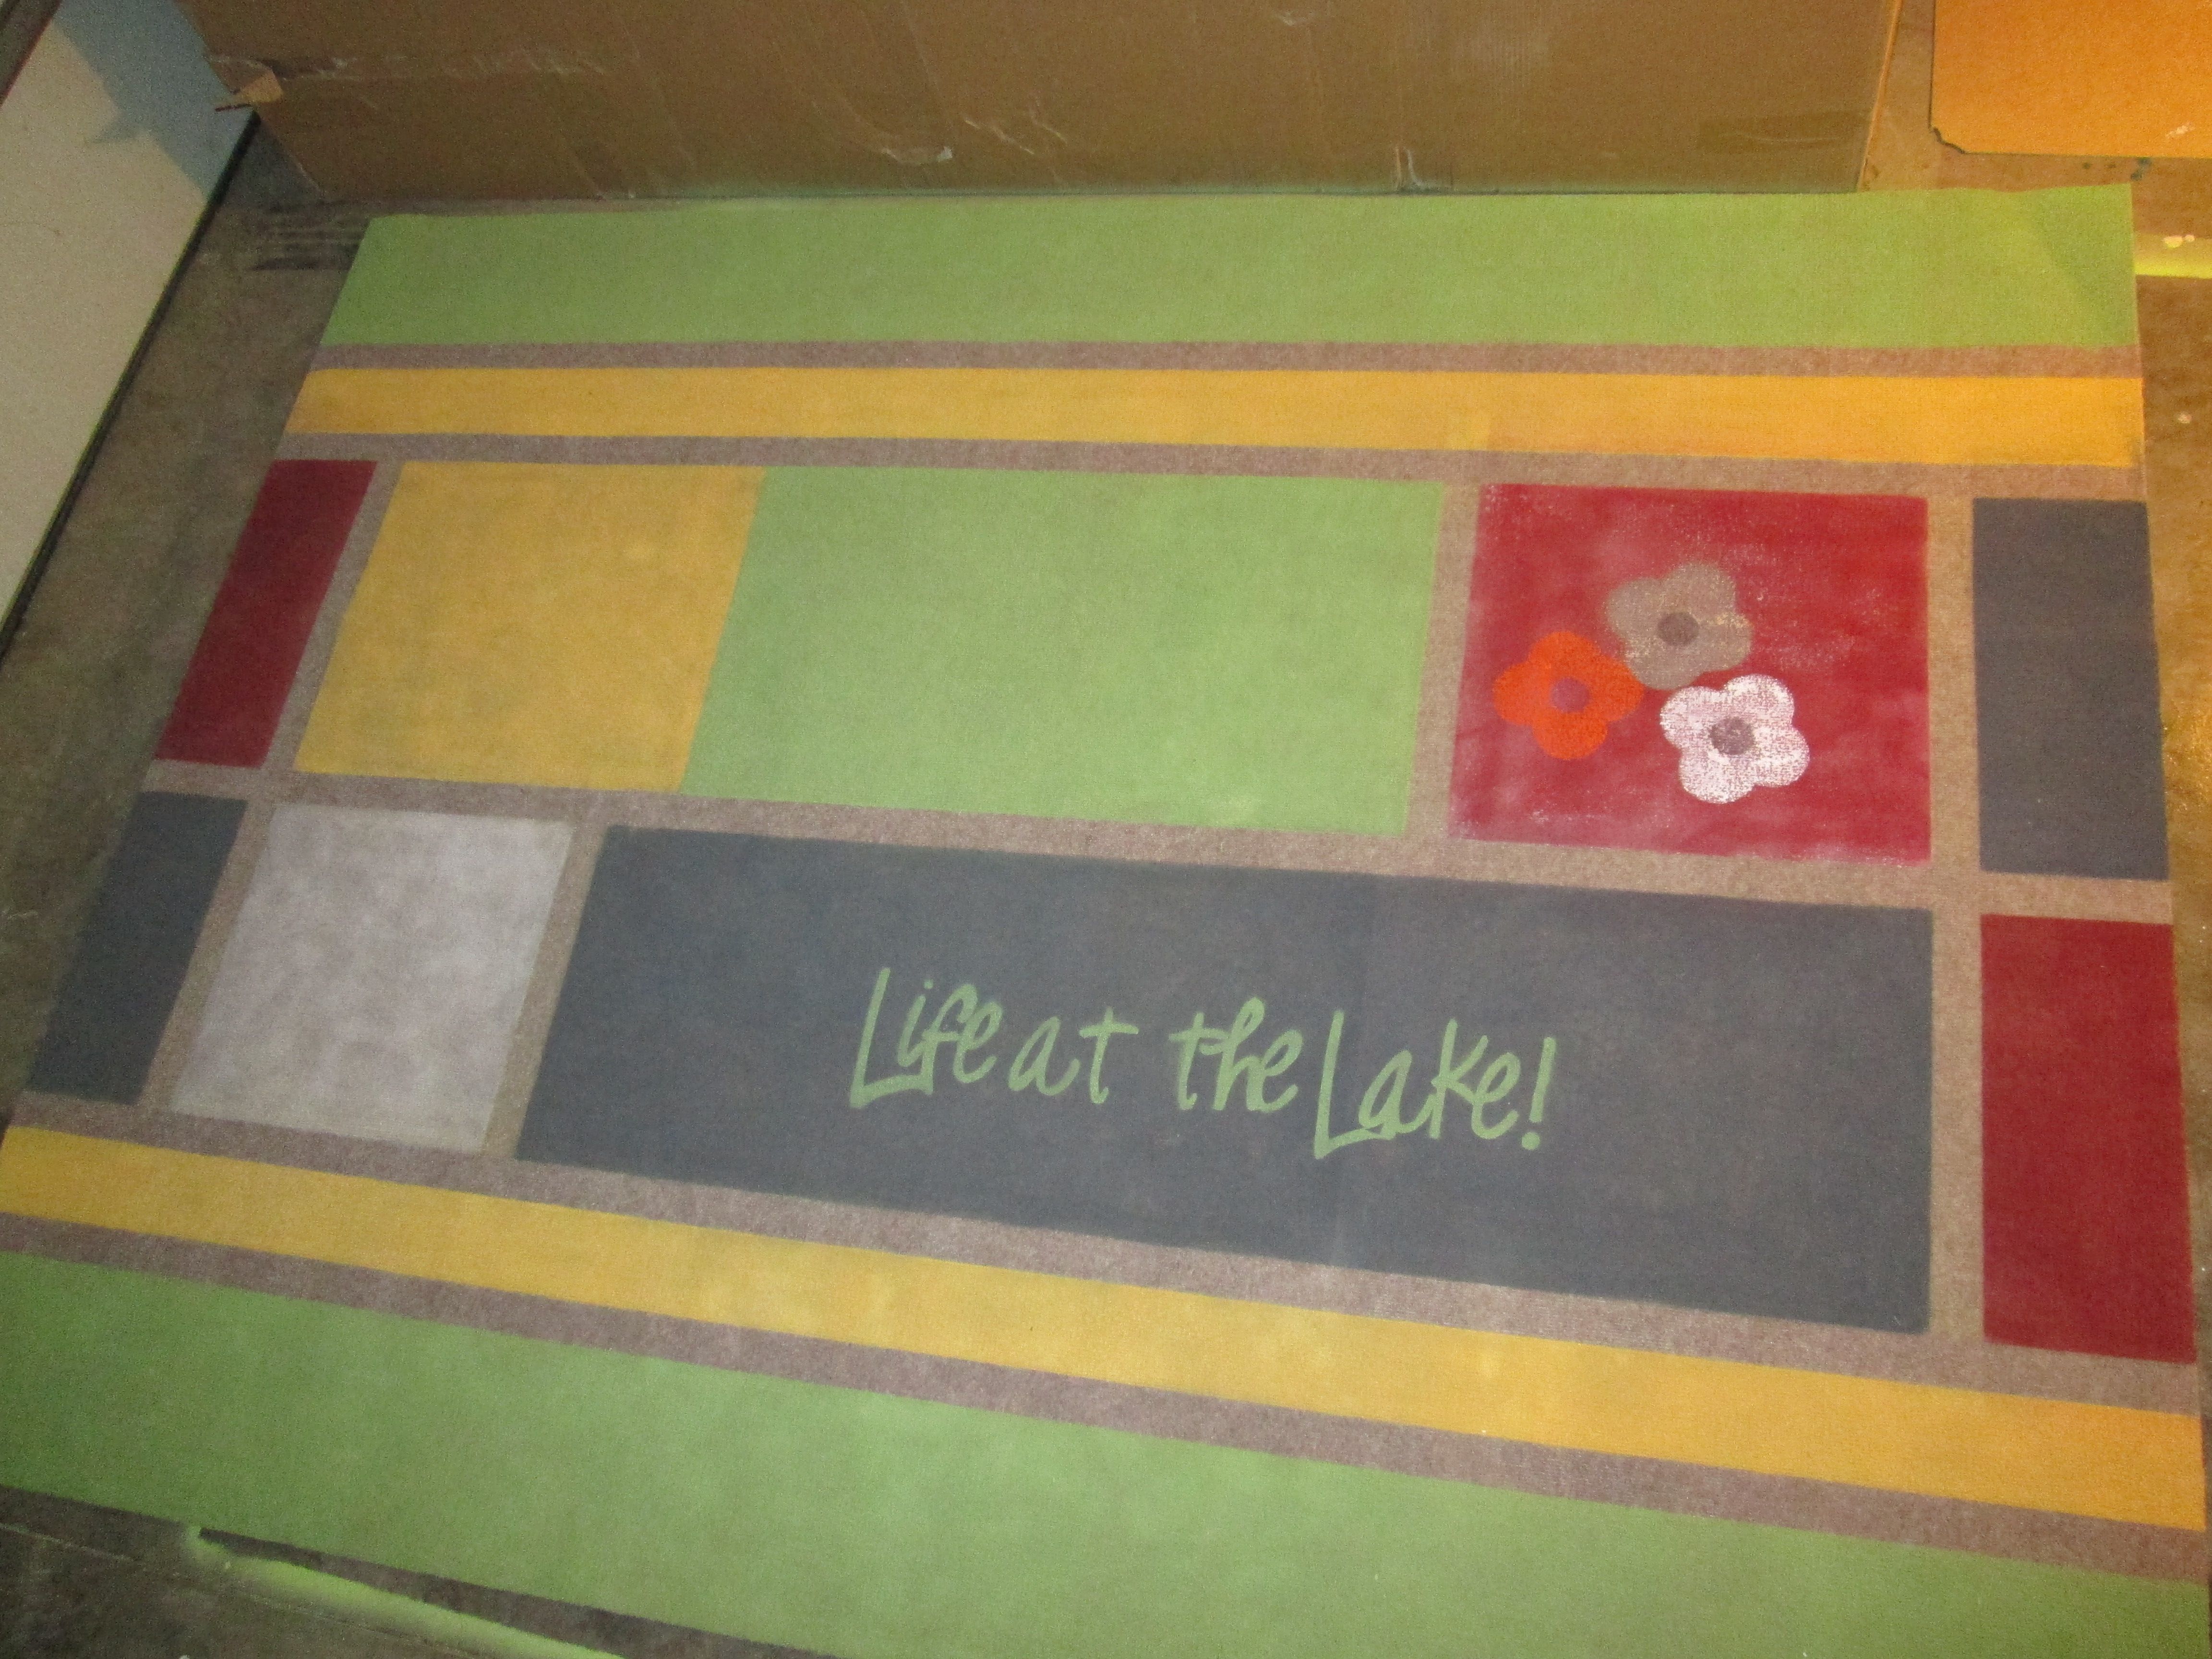
After screwing up just a little (does it matter, really? It’s for me, and there will probably be a chair on top of most of the carpet, I ended up with this:

No doubt, I’ll end up making another one now that I see my mistakes and what I do and don’t like about it. Needless to say, I had fun and afterall, isn’t that all that matters?


